How To Add A Signature In Gmail - Complete Guide


Email signatures are an important part of the modern communication landscape. They allow individuals to easily identify who they are exchanging messages with, and also help convey a sense of professionalism.
Adding a professional email signature in Gmail is a simple process that can save you time and help make your emails more professional. An idiom to keep in mind when setting up your signature is "A stitch in time saves nine" - meaning that putting some effort into creating a quality email signature now will pay off later on.
Understanding these basics of setting up an email signature within Gmail is key for anyone wanting to create one correctly and efficiently.
Steps To Create A New Gmail Signature
Follow these Steps To Create and Add A New Signature In Gmail
-
Open Gmail in your browser (e.g. Chrome) by typing
"mail.google.com" in the address bar.

The Gmail URL in the Google Chrome address bar -
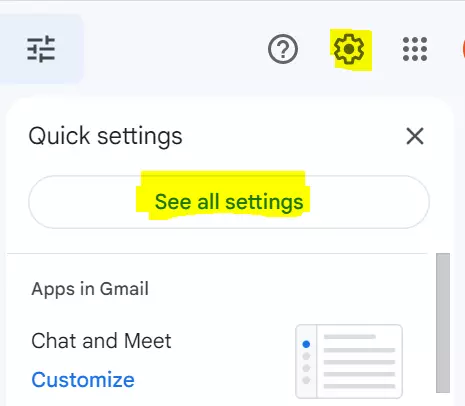
Click the gear icon in the top right-hand corner and select "See
all settings" from the drop-down menu.

See all settings -
Scroll down to find the "Signature" section in the "General"
tab.
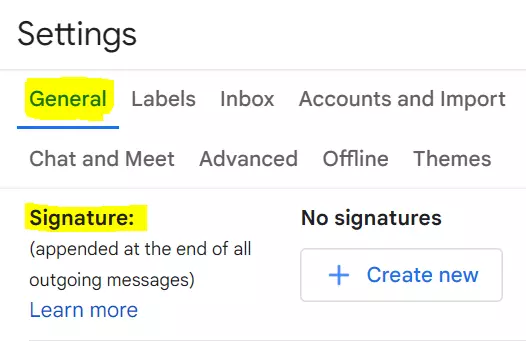
Signature -
Click on "+ Create New" and insert the internal name of your
signature, then select "Create."
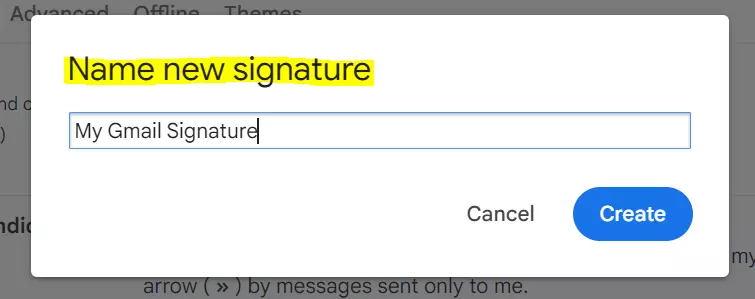
Create -
Type your signature into the box provided or paste it directly
from Mailbird's
Email
Signature Generator, using basic HTML formatting
like bold or italics if desired.

Mailbird's Email Signature Generator -
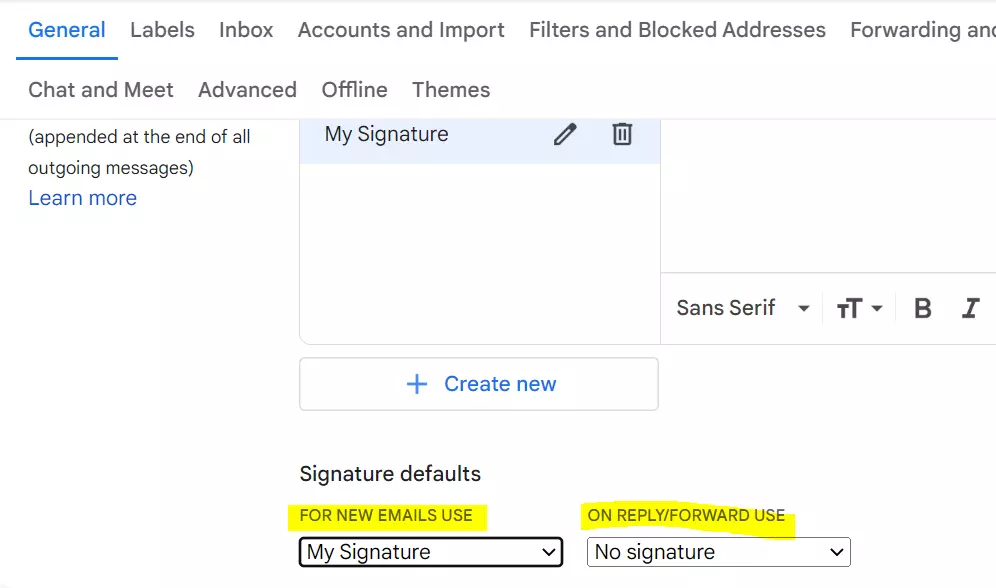
Choose when you want your signature to appear under "Signature
Defaults" by using the dropdown menus for "FOR NEW EMAILS USE" and "ON REPLY/FORWARD USE" to select
your signature or "No signature."

No signature -
Scroll down to the bottom of the page and click "Save
Changes."
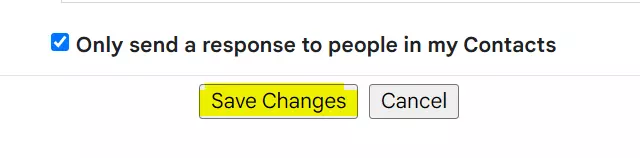
Save Changes
That's it! Your signature will now automatically appear at the end of any emails you send from Gmail.
If you prefer, you can also use Flamingo - Free Email Email Signature Generator by Mailbird to create your desired signature for use in Gmail. To write a professional email signature that puts so much impression on your reader, you should check this guide on how to write a professional email signature.
Set Up a Signature in Gmail
Scroll down until you find 'Signature' above 'Filters' and configure it according to your needs. There you can add texts, logos, links or even HTML coding that will appear at the end of each email sent out.
Test Your Email Signature
Testing your email signature is the crucial final step to ensure that all your emails have a polished, professional appearance.
To test your signature in Gmail, start by composing a new email. As you draft the message, your signature should automatically appear at the bottom. Take a moment to carefully check it—verify that all links are working correctly and that any logos or images are displaying as intended. This quick check will confirm that your signature is functioning perfectly before you send out any important emails.
How To Add A Signature In Gmail Mobile App
Adding a custom email signature in the Gmail app on your iPhone or Android device is a quick way to personalize your messages and let people know who you are. Here's how to do it:
- Open the Gmail app on your smartphone and tap on three horizontal bars on the top left corner to go to the
Settings menu.
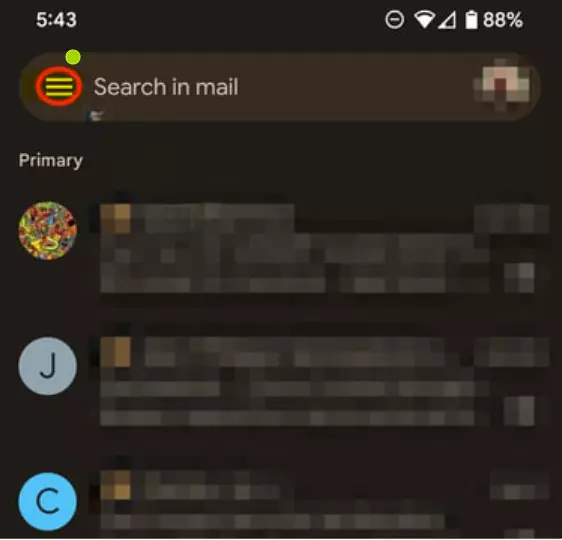
Gmail app settings menu - Now Tap on the "Settings" tab.
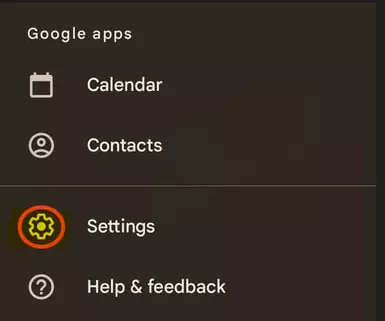
Gmail app settings tab - Scroll down to the "Mobile signature" section and tap on it.
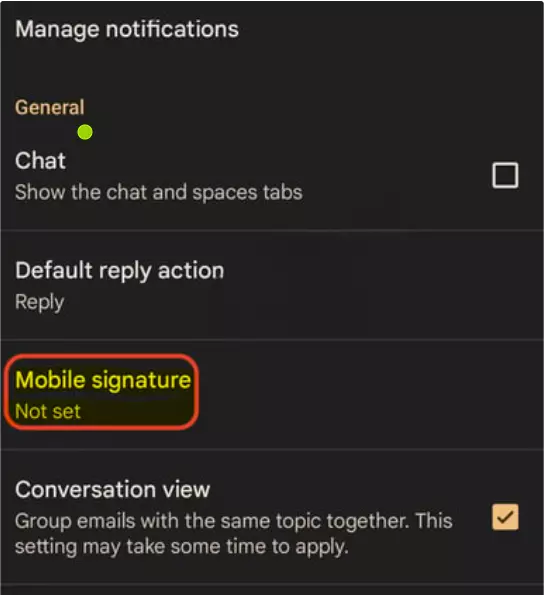
Mobile signature section - Now add your signature in the signature box provided on the screen.
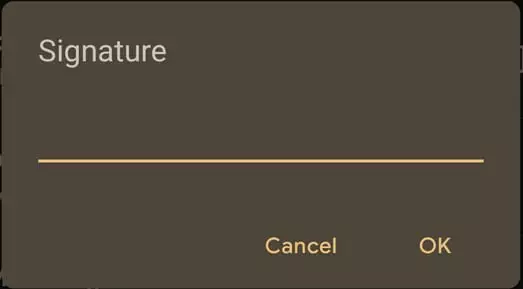
Signature text field in the Gmail app - When you're finished, tap on "OK".
Once done, it's important to make sure that your mobile signature is not too long. Otherwise it will not show properly and have a bad impact on rader.
How To Include An Image In A Signature
Inserting an image into Gmail requires the user to upload an image to a hosting service and then copy the link to the image into the signature or just upload the image from his/her PC.
Incorporating an image into your email signature, such as a company logo or personal photograph, can add a touch of personality to your emails and leave a memorable impact on the recipients. Here are the steps to follow:
- Access the signature editor and click on the "Insert Image" button located in the text area.
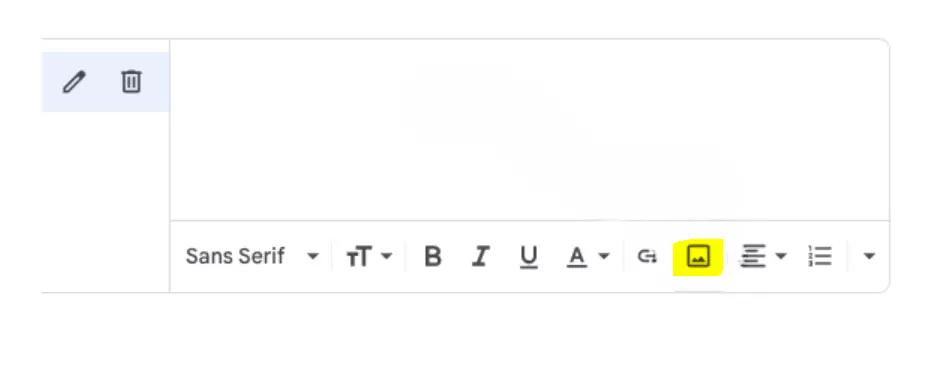
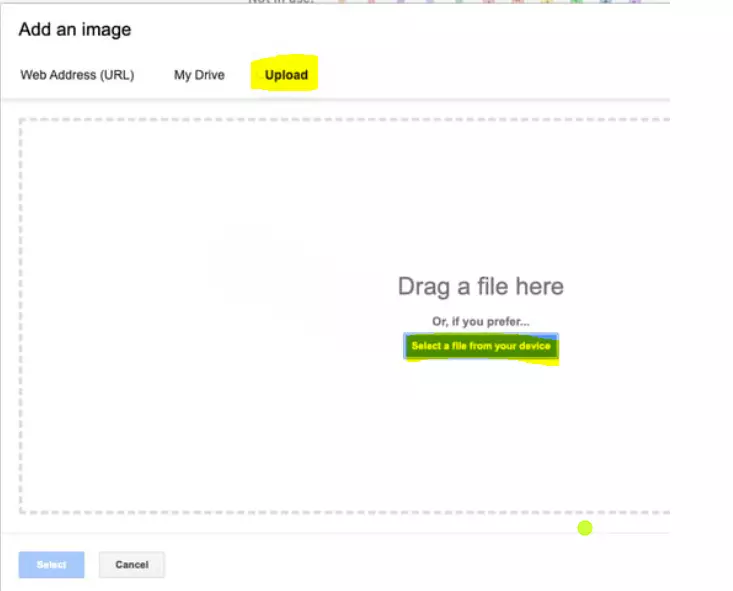
Insert Image - To add an image to your email signature, select "Upload" and then "Select a file from your device".
From
there, you can browse through your computer files to locate the image you want to use.
Alternatively, if you
already have the image's URL, you can opt for the "Web Address (URL)" option. You can also
access images
from your Google Drive by selecting the "My Drive" tab.
My Drive - After designing your email signature to your satisfaction, simply click on the "Save Changes" button located at the bottom of the page to save your settings.
From then on, every time you create a new message, your signature will automatically display with the image you selected.
If you are an outlook user check this guide about How To Setup An Email Signature In Outlook
How To Add Html Code To A Signature
In order to effectively add a HTML signature to an email, it is important to understand how to insert HTML code as well as preview the signature.
A comprehensive understanding of this process will ensure an optimized email signature.
Although Gmail doesn't offer a built-in option for generating HTML signatures, you can still add one using a few alternative methods.
- Begin by composing your signature in an HTML file, which you can create using Windows Notepad, Apple TextEdit, or Sublime Text.
- Next, open the HTML file in your preferred web browser, such as Google Chrome.
- Once the signature appears, use your mouse cursor to select the entire signature and then right-click or use
the
keyboard shortcut Ctrl-C/Cmd-C to copy the content to your clipboard.

select the entire signature - To insert your newly created signature into Gmail, start by navigating to the "Settings" menu. From there,
click
on "Signature" and then paste in the copied signature by right-clicking and selecting "Paste", or by
using the
keyboard shortcut Ctrl-V/Cmd-V. Make sure to save your changes before closing the window to finalize the
process.
start by navigating to the Settings menu - And that's it - adding an HTML signature to Gmail is that simple! With a little bit of creativity, you can craft a visually appealing signature that will make your emails stand out and leave a lasting impression on your recipients.
Preview Html Signature
Once the HTML template for a signature has been created, it is important to preview and check that everything looks as desired.
To do this, select 'Preview' from the Gmail settings page after completing the steps listed above.
This will open up a new window with an example of what your new email signature would look like in different email clients such as Outlook or Apple Mail.
How To Change Signature In Gmail
To modify your Gmail email signature, follow these easy steps:
- Log in to your Gmail account and click the gear icon located in the top right corner.
- Choose "See all settings" from the dropdown menu.
See all settings - Scroll down to the "Signature" section and make your changes.
Signature - Scroll to the bottom of the page and click "Save Changes."
Save Changes
And that's it! Now your email signature will be updated every time you compose a new message.
If you're using Gmail, you can use Flamingo - Free Email Signature Generator by Mailbird to create a signature.
Why Is My Signature Not Showing Up In The Gmail App?
If your Gmail signature isn’t showing up in the app, follow these steps to troubleshoot:
- Check Signature Settings: Open the Gmail app and go to Settings > General settings > Signature. Ensure that 'Mobile Signature' is enabled and that your signature text is correctly entered.
- Restart the App: If the signature still doesn’t appear, restart the Gmail app. Go to Settings > Apps & Notifications > See all apps > Gmail > Storage, then clear the app’s data and cache. This can resolve issues related to signature display.
- Clear Cache: Clearing the cache can help if stored data is causing conflicts. Navigate to Settings > Apps & Notifications > See all apps > Gmail > Storage > Clear data and cache.
For a better experience pick the best gmail app for windows from a list of best email clients.
Examples Of Email Signatures In Gmail
Email signatures in Gmail can be very specific. They can include images, links, and even more. Here are some examples of signatures in Gmail:
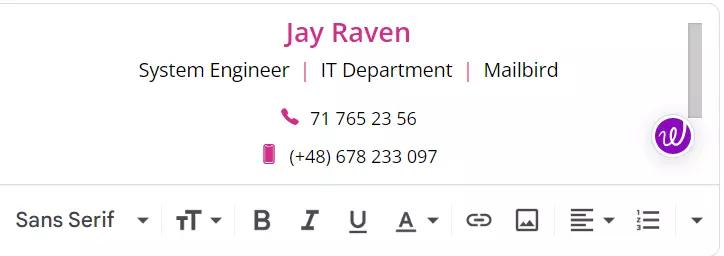
- A basic signature with your name, title, and contact information
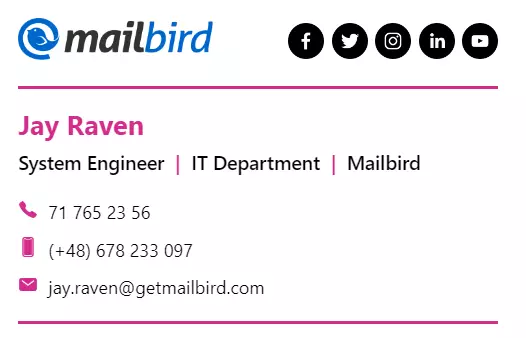
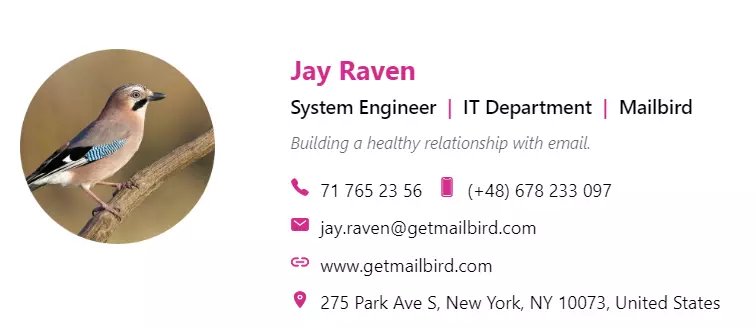
A basic signature with your name, title, and contact information - A signature with an image

A signature with an image - A signature with a link
A signature with a link
Benefits Of Having An Email Signature
An email signature serves as a professional mark of the sender in all emails they send, while also providing branding, recognition, convenience and consistency to the recipient.
When implemented correctly, an email signature can be an effective personal and professional tool for any individual or business. Here are some of the Key Benefits that you can acquire with a professional email signature.
- Professionalism: Creates a polished, consistent look in your emails.
- Branding: Reinforces your personal or company brand with logos and colors.
- Convenient Contact Info: Provides easy access to your contact details.
- Credibility: Boosts trust with professional credentials or certifications.
- Marketing: Promotes links to your website, blog, or social media.
- Legal Compliance: Includes necessary disclaimers and confidentiality notices.
- Personalization: Adds a personal touch with a unique sign-off or quote.
- Consistency: Ensures uniform presentation across all platforms.
An email signature enhances professionalism, promotes your brand, and makes it easier for recipients to connect with you.
Yahoo users can also add signatures to their emails. Check out this complete guide on How To Add A Signature To Yahoo Mail.
Conclusion
Crafting a well-designed email signature is more than just adding a finishing touch to your messages—it's a powerful way to elevate your professional image and reinforce your brand.
By thoughtfully incorporating elements like hyperlinks, logos, and custom templates, you not only create a consistent and polished look but also ensure that every email you send leaves a lasting impression. These features help you stand out in crowded inboxes, making it easy for recipients to recognize your messages at a glance.
Ultimately, your email signature becomes a key tool in managing your digital identity and showcasing your unique style, helping you communicate more effectively and professionally.
FAQ
How Do I Create A Signature For Multiple Gmail Accounts?
To create a signature for multiple Gmail accounts, go to the 'Settings' menu and click on 'See all settings.' From there, you can create a signature for each account under the 'Accounts and Import' tab.
Can I Use A Hyperlink In My Email Signature?
Yes, you can use a hyperlink in your email signature by using HTML code.
How Do I Insert A Logo Into My Email Signature?
To insert a logo into your email signature, go to the 'Settings' menu and click on 'See all settings.' Then, under the 'General' tab, create your signature and insert the logo using the 'Insert Image' button.
Is There A Way To Insert A Signature Into An Email I've Already Sent?
Unfortunately, you cannot insert a signature into an email you've already sent.
How Do I Create A Signature Template That I Can Use For All Emails?
To create a signature template that you can use for all emails, go to the 'Settings' menu and click on 'See all settings.' Then, under the 'General' tab, create your signature and select the option to use the signature for all outgoing emails.