Gmail Access Amid 2FA Regulations
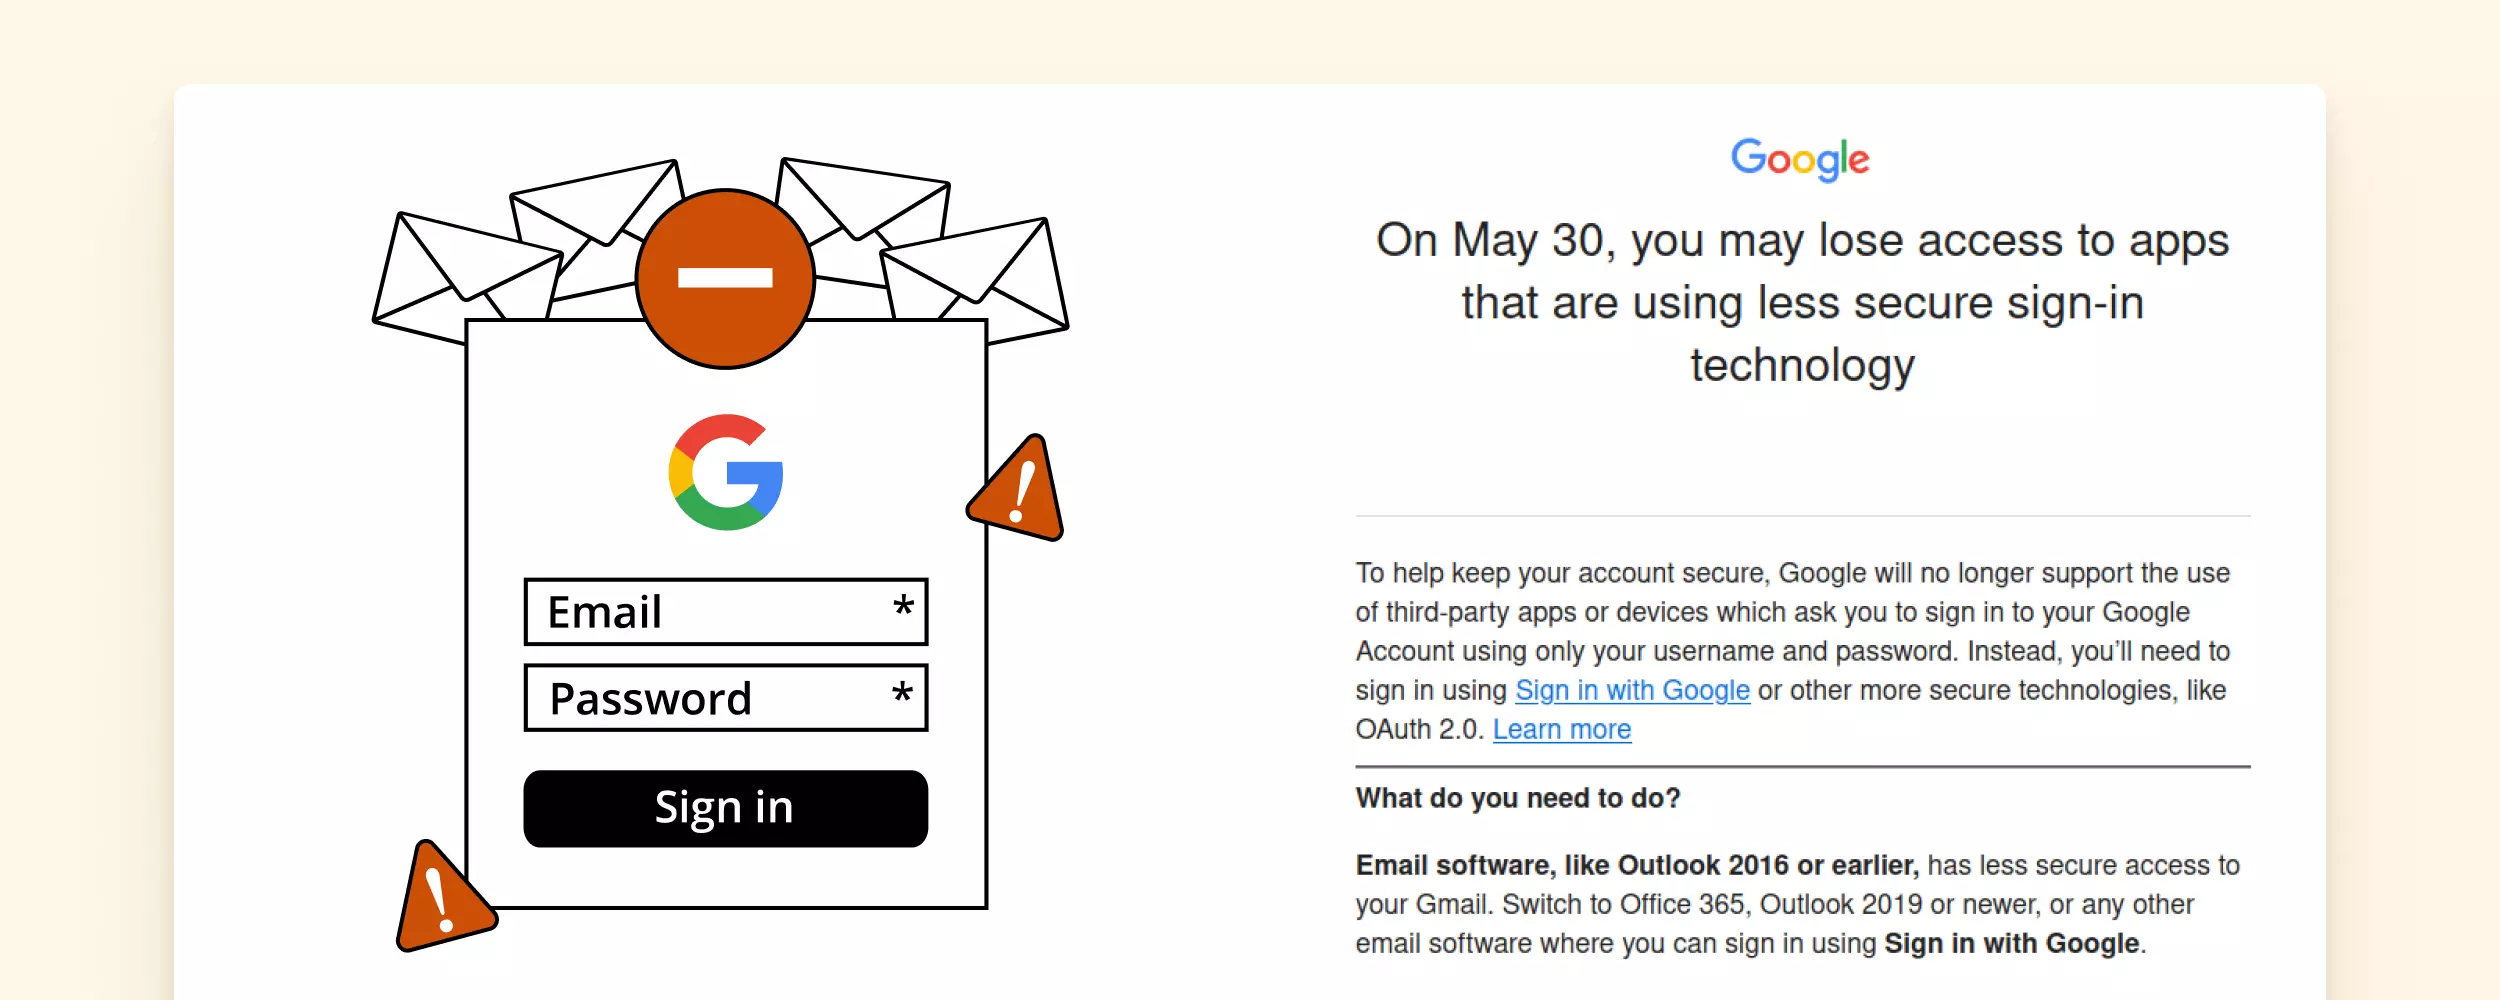
Recently, Google announced that it would be implementing new security regulations come May 2024 that will limit some functions, such as the sign-in process for email clients.
Though this regulation aims to strengthen user account security, it also means that some third-party apps will lose access to Gmail.
Wonder how this development may affect your work and life?
In this article, we'll explain the salient points of Google's new security regulations and how to deal with them. We also walk you through how some email tools like Mailbird can help you eliminate any difficulties associated with the security updates.
So, let's dive right in and take a closer look!
What Are the New Google Security Regulations?
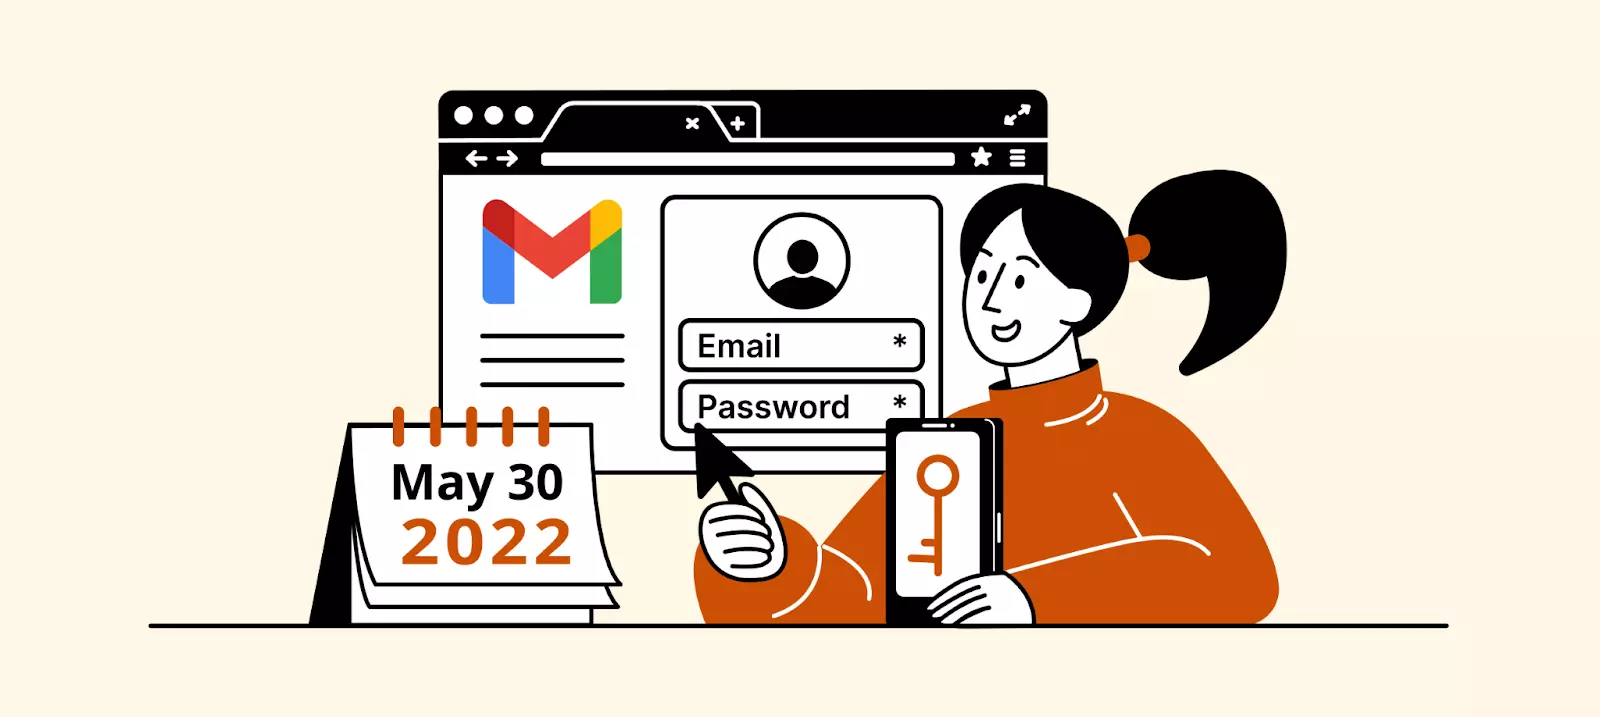
The new security regulations state that you will now be required to always use two-factor verification to access your Gmail account, directly or using third-party apps, such as email clients.
Google will automatically turn off all the less secure apps, meaning you won't be able to use them to check your Gmail or send emails.
What Does It Mean for Email Users?
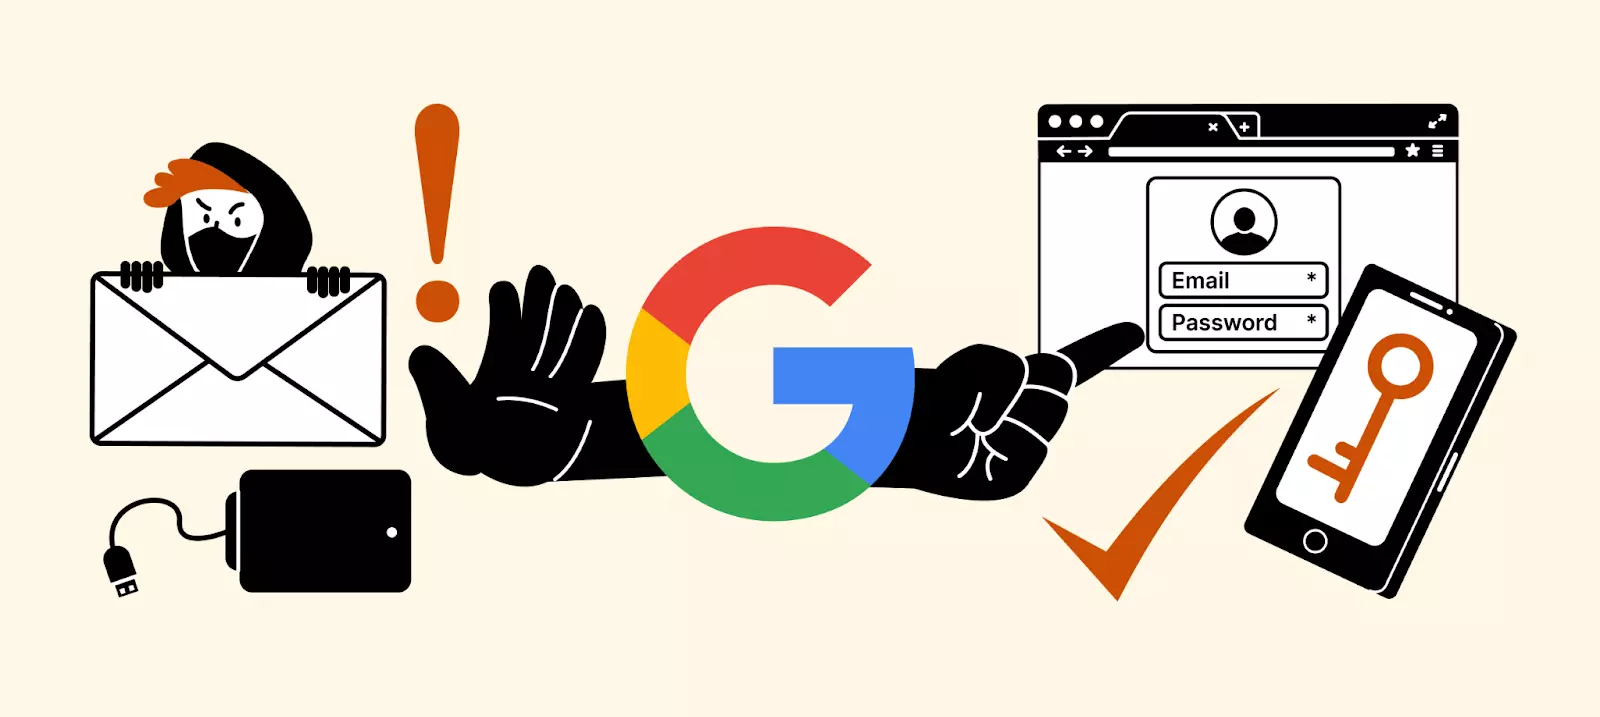
In short, this security update means that if a third-party app or device uses less-secure sign-in technology, you will not be able to use it with your Google account. Here's how it may affect your routine:
- It won't be possible to send scanned documents and other attachments directly from your printer or another similar device by email. Users will be required to create and use an app password with their printers. You must set up two-factor verification and then generate an app password that provides access to your Google account.
- It won't be possible to use some non-Google apps or utilities with your Gmail account. Apps such as Gmail, Apple Mail, and Outlook Mobile use OAuth. For others, you will need to sign in using more secure technologies like OAuth 2.0, which requires you to generate and input access tokens before access is granted.
- It won't be possible to use some third-party email clients. Google will now require an additional layer of security to do that. One example is Thunderbird, which uses only your username and password for authentication — most likely, it will lose access to Gmail accounts if it doesn't update its login process.
Here's the message you'll get from your Gmail app when trying to access your account in Thunderbird:
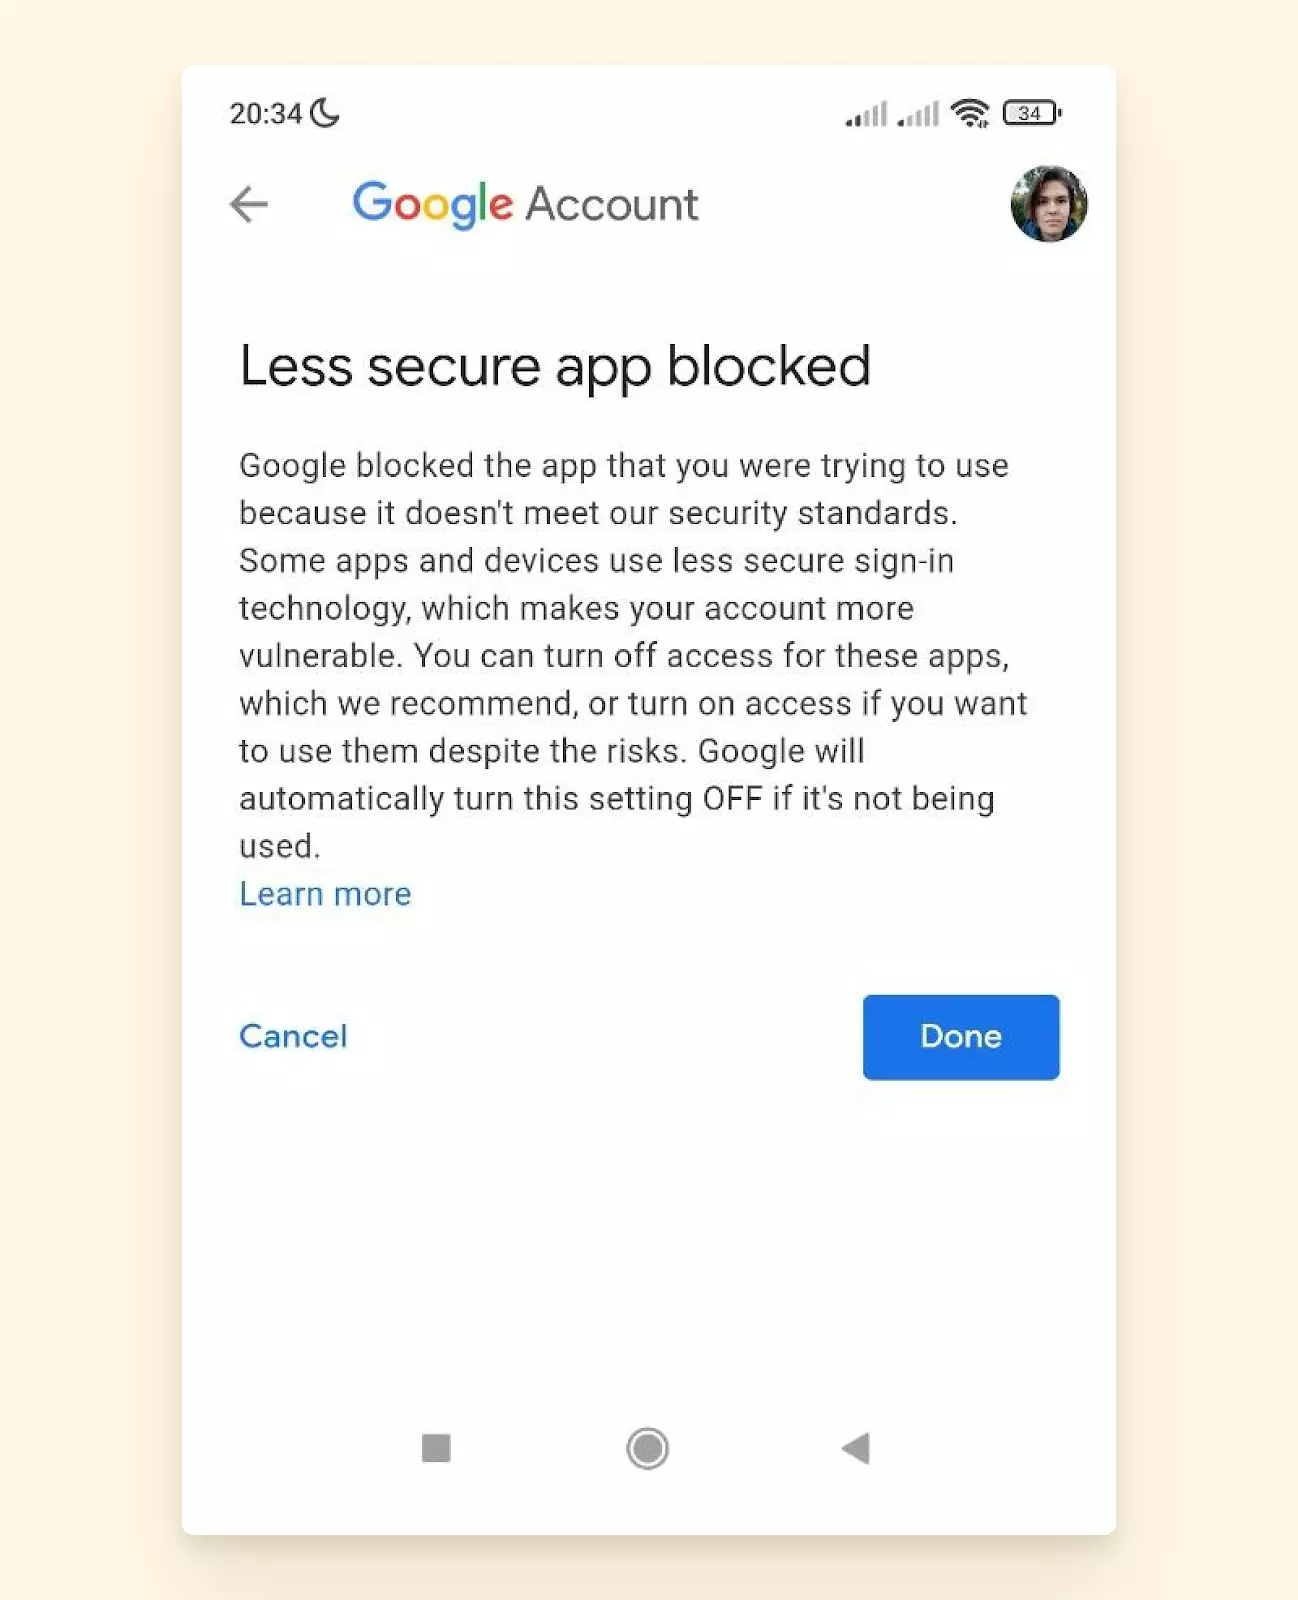
So, plugins and devices that don't use OAuth will definitely require you to create access tokens manually. But will all email clients be affected?
No.
If an app or site meets Google's security standards, you will still be able to use it as usual.
How to Avoid Losing Access to Your Google Email Accounts
It's clear that the new regulations, though crucial to your online security, call for some changes in your tech, but what exactly can you do to keep using your Google account?
1. Use Mailbird to Access Your Email Accounts
Mailbird is a powerful, intuitive, and customizable email client that's perfect for business and private email management needs. It's also among the applications that meet Google's security standards.
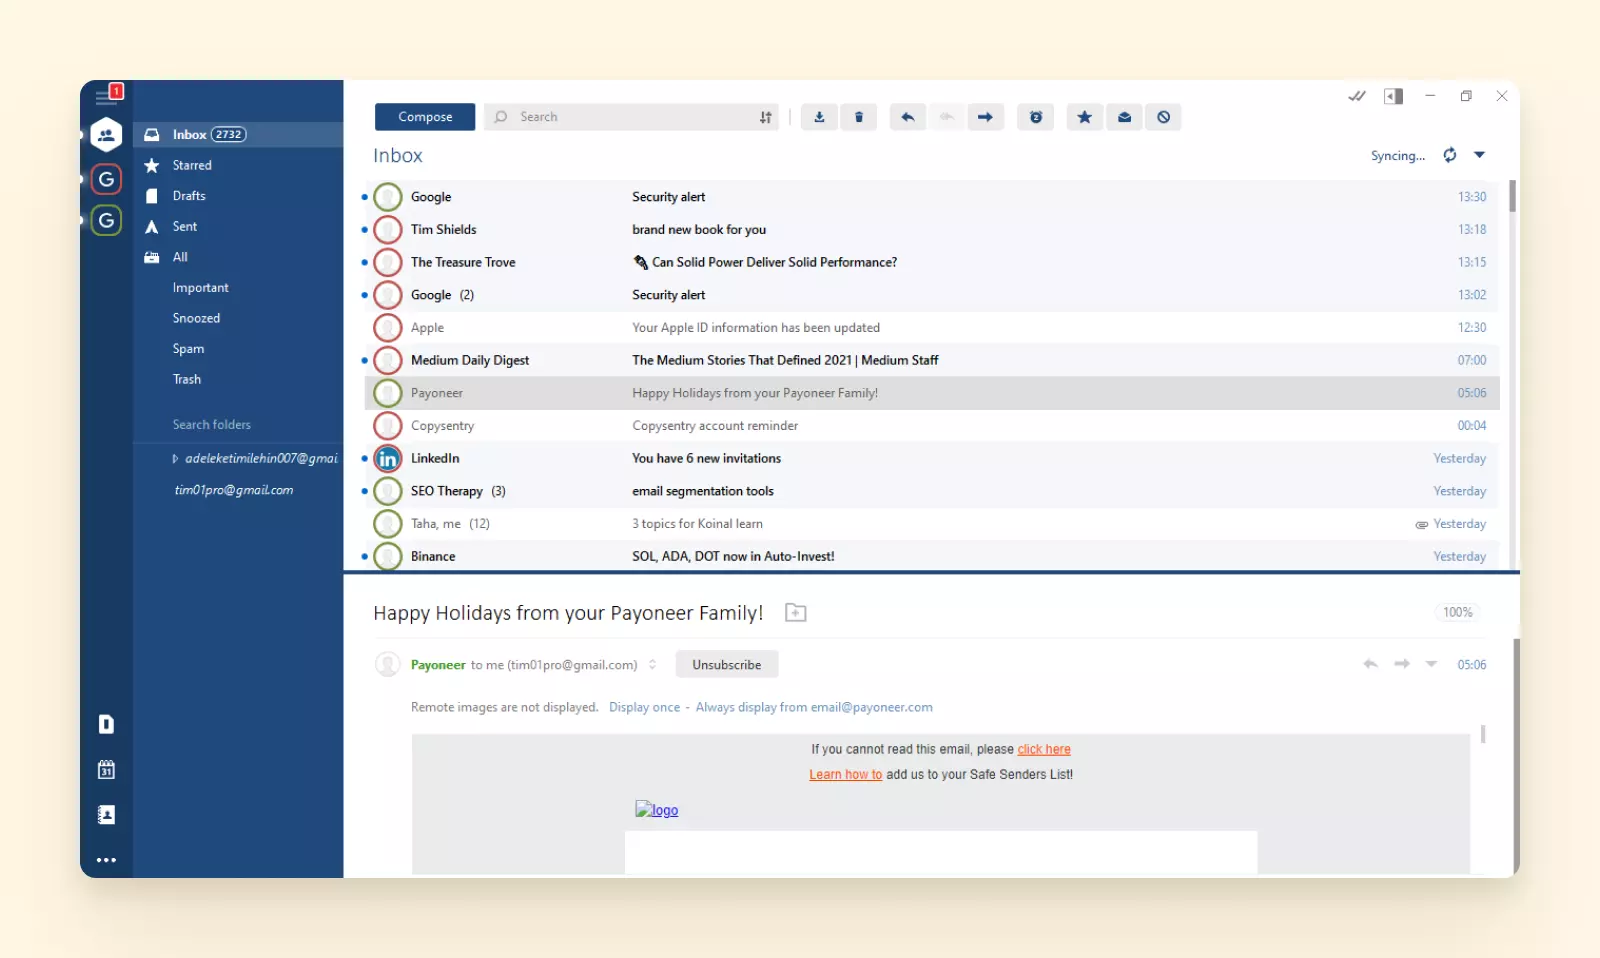
It is a simple and one of the best Gmail app for pc with advanced features that allows you to manage one or more accounts, regardless of their provider. It integrates with Google Workspace and other third-party apps, such as Slack, Facebook, Evernote, Asana, and Todoist.
The best part? Mailbird is compliant with Google's new security regulations. For example, the data sent from Mailbird to the license server and vice versa is done over an HTTPS connection, which is one of the most secure communication channels.
Here's how to use this platform:
Log in and add an account
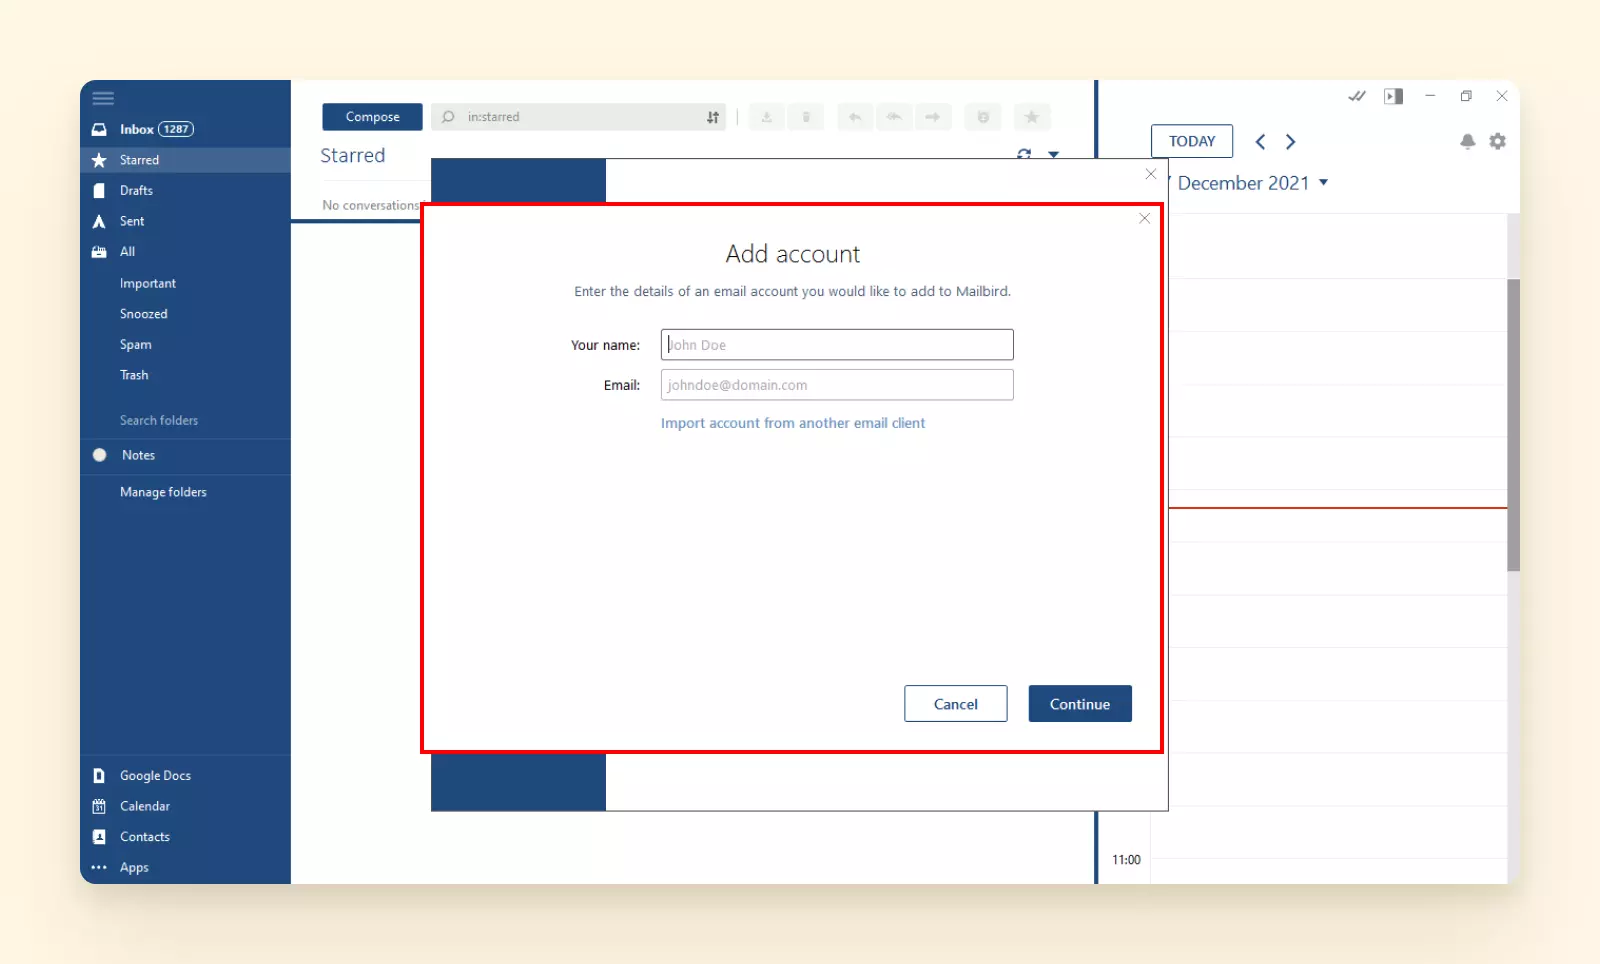
Once you install and open Mailbird for the first time, you'll be prompted to add your first email account. To add another email address:
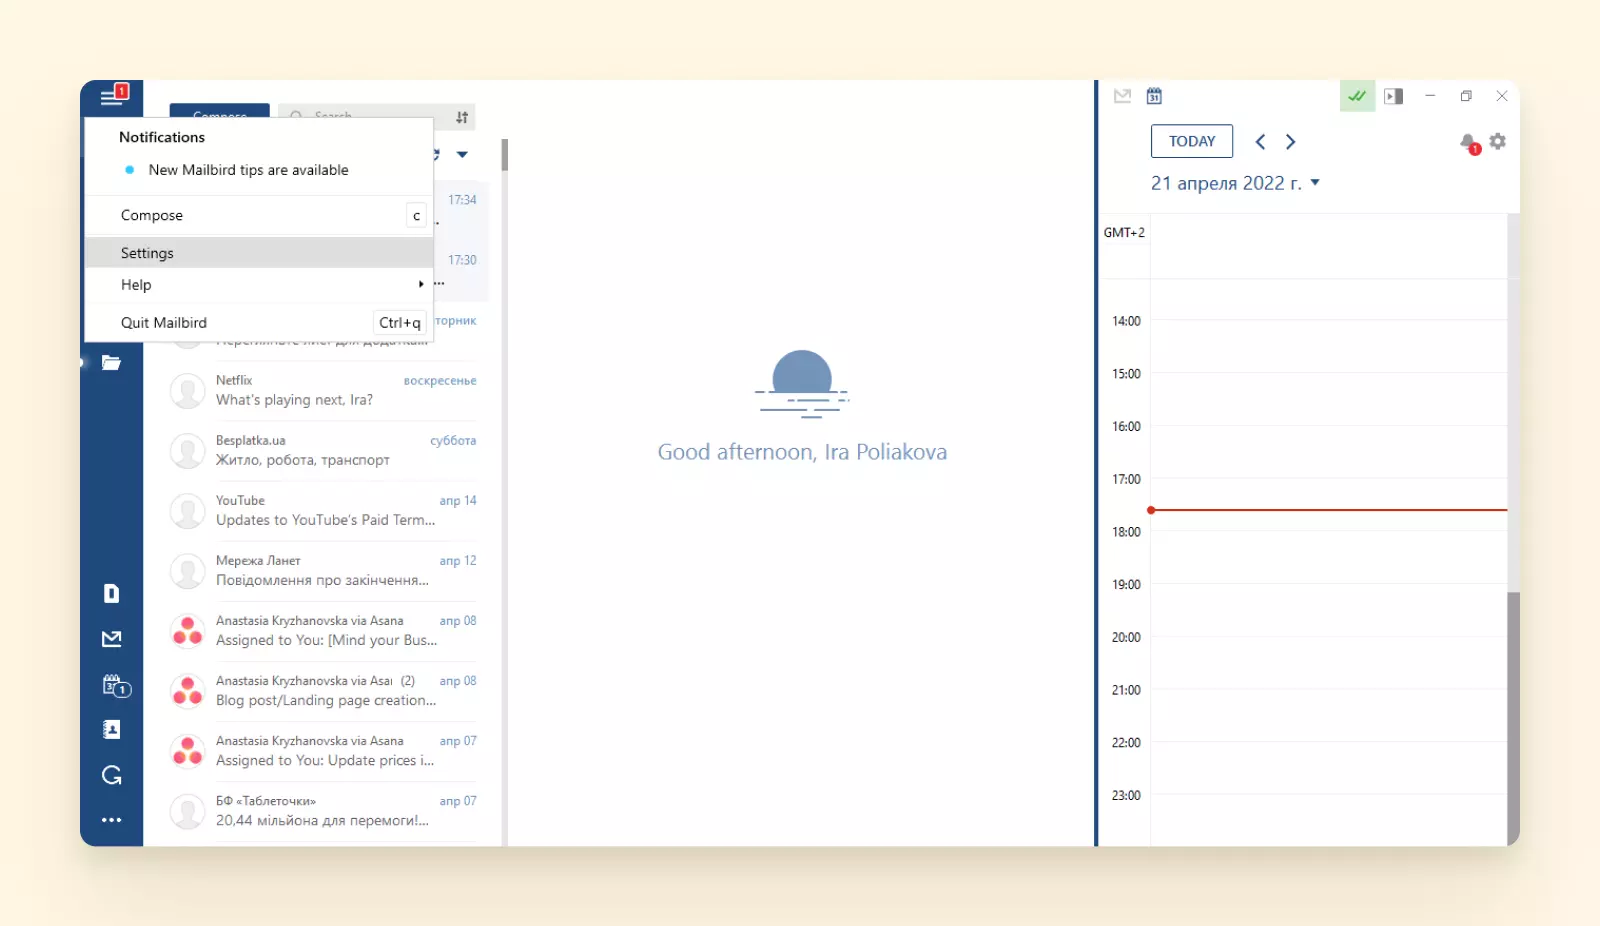
1. Click on the menu button on the top left and select Settings.
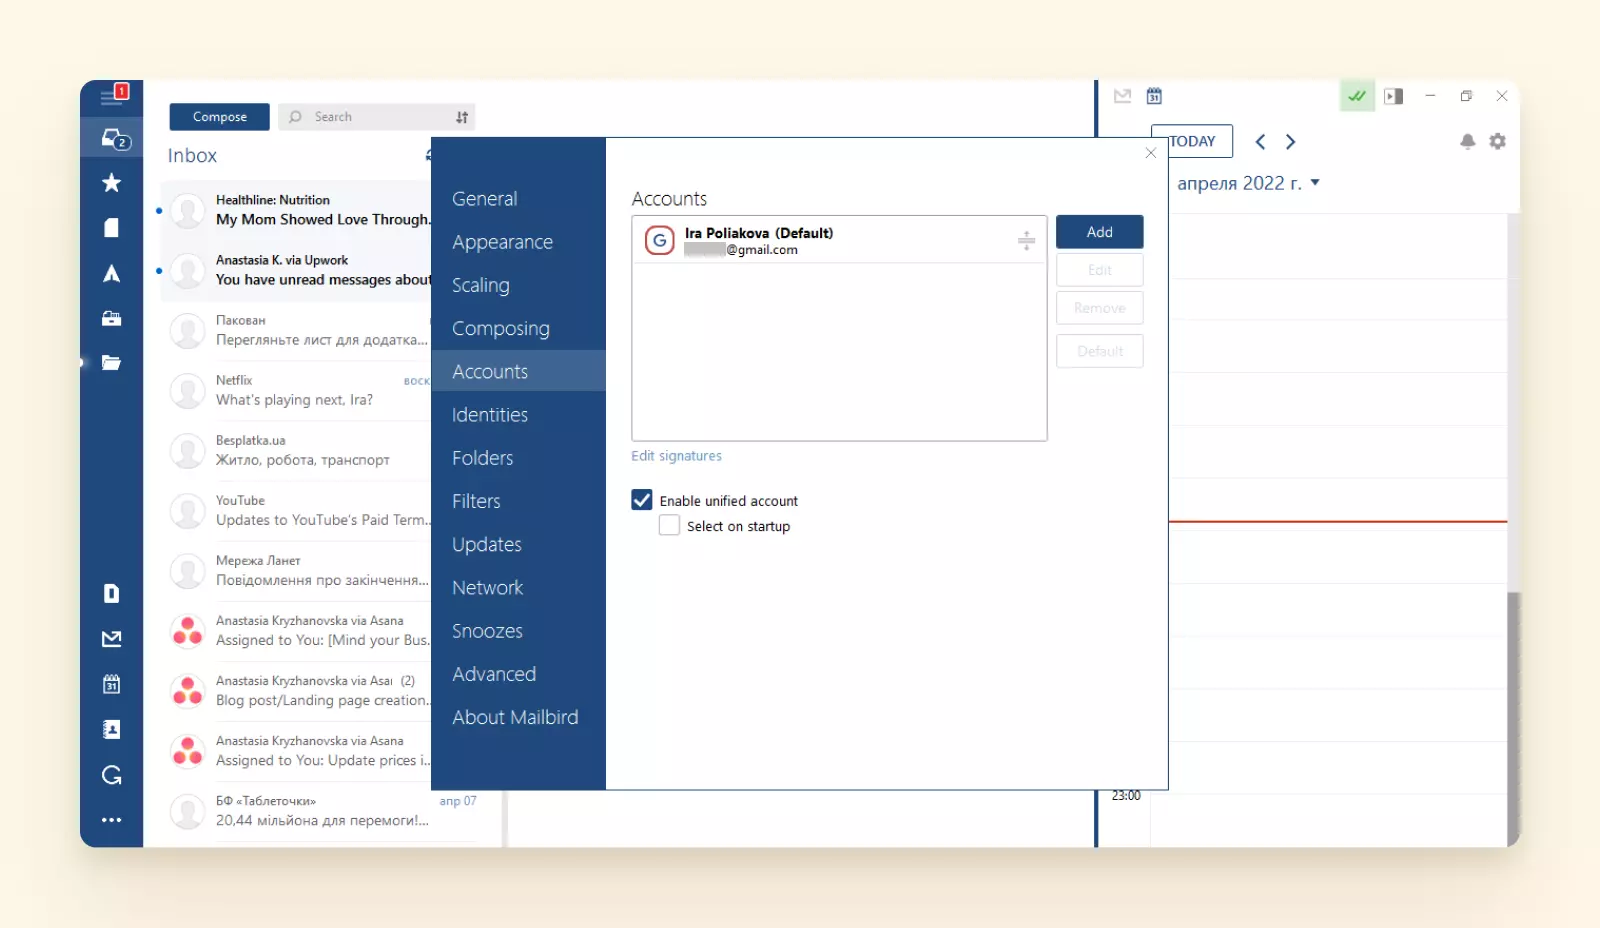
2. Navigate to the Accounts tab.
3. Click on Add and follow the instructions.
Configure network settings
Once you input the login details to set up your email account, the system will look for your network settings.
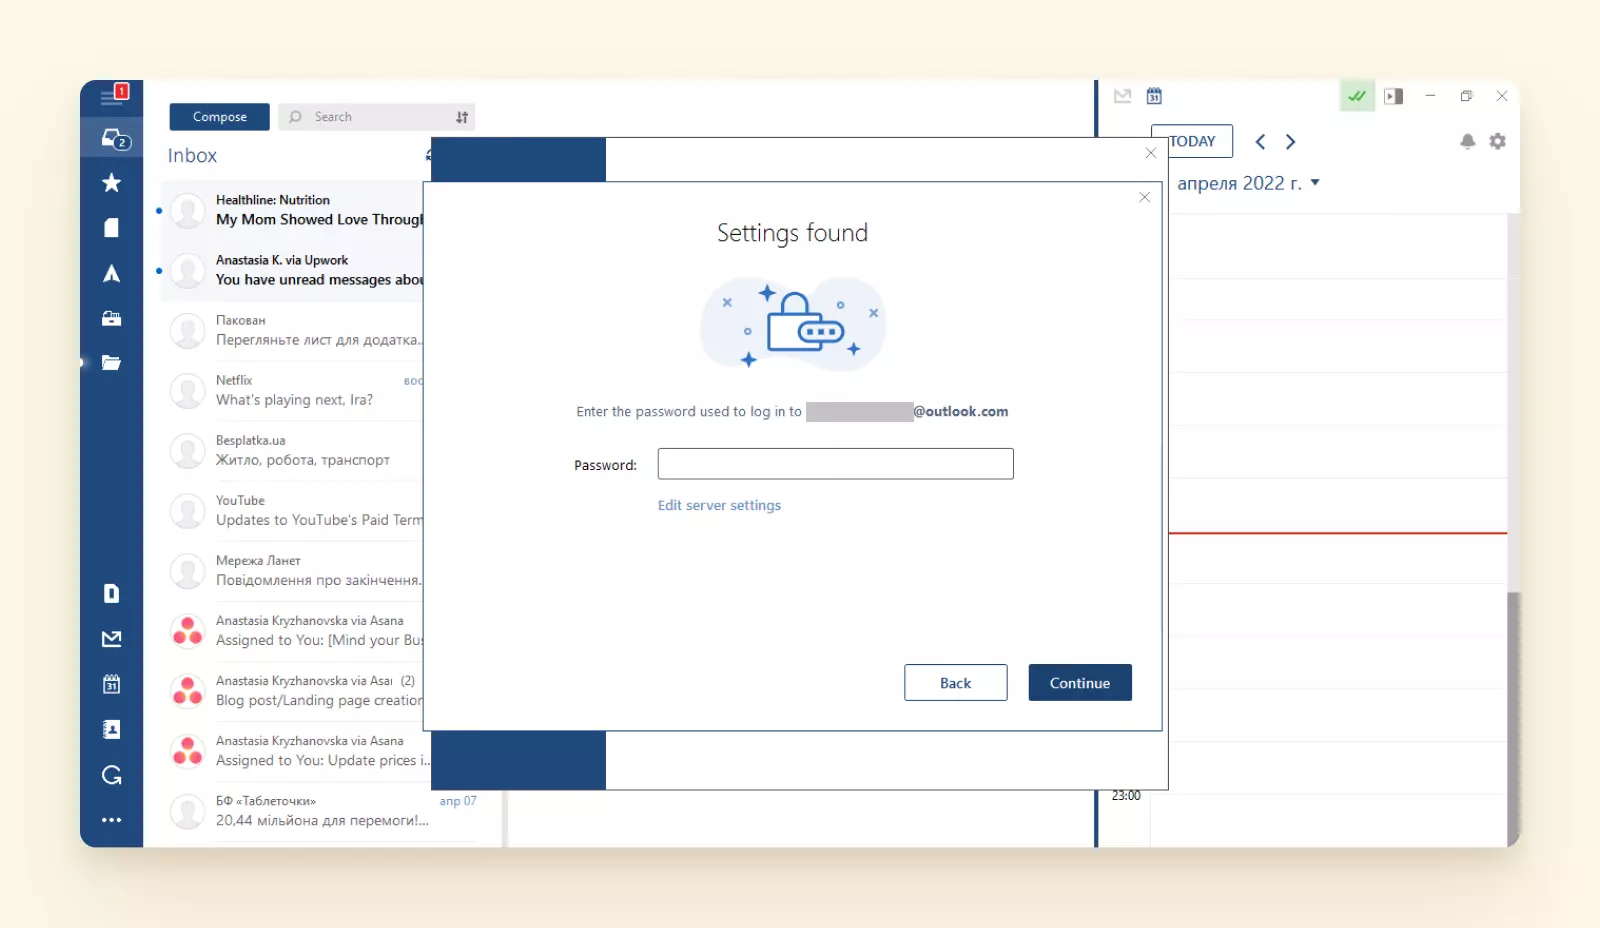
To complete this process, enter your password and click on Continue. The system will then use the details you have provided to search for network settings.
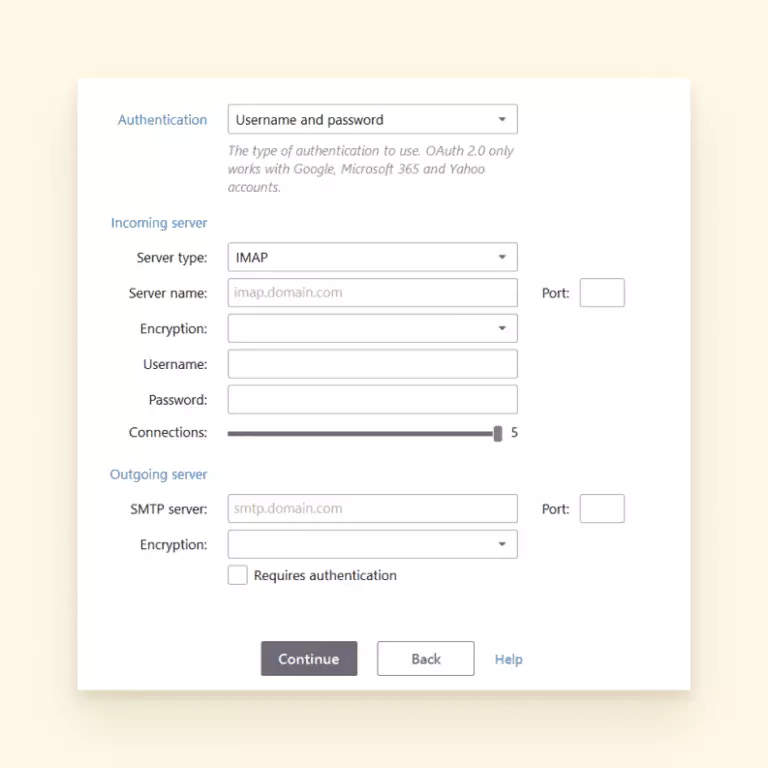
If you are using a custom domain, you will need to enter the network settings for your email address manually. Once done, click Continue to proceed to the next step.
You may also be asked to enter the network setting manually. Then, you'll see a window like this one:
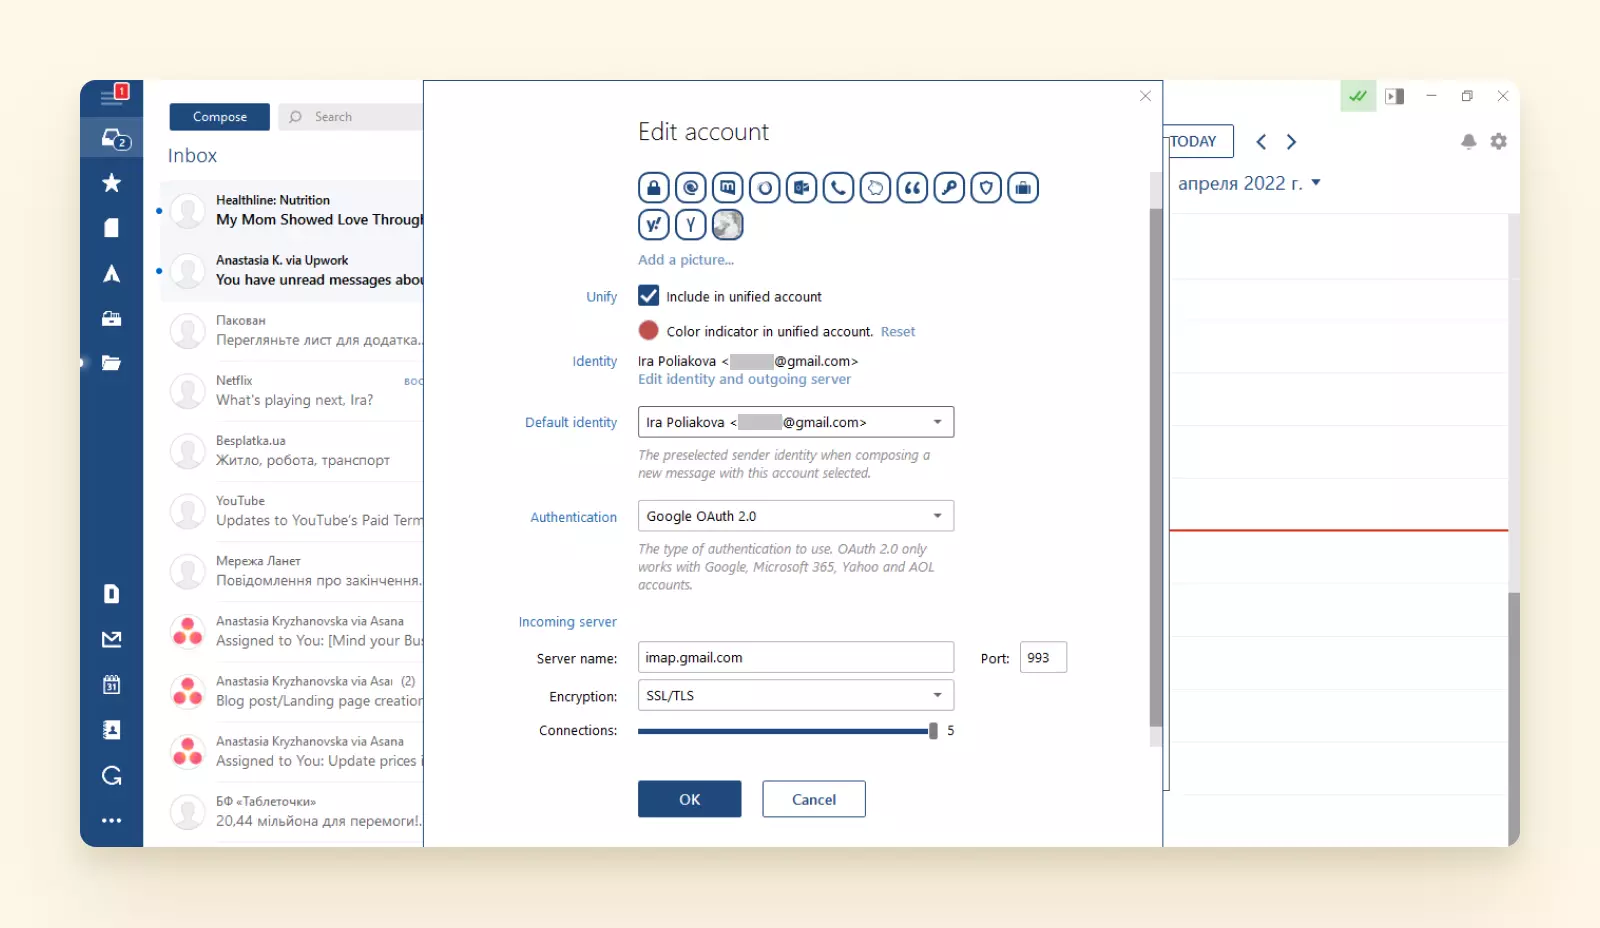
Customize your experience
From here, you can customize your emailing experience as desired, such as assigning profile photos to your contacts.
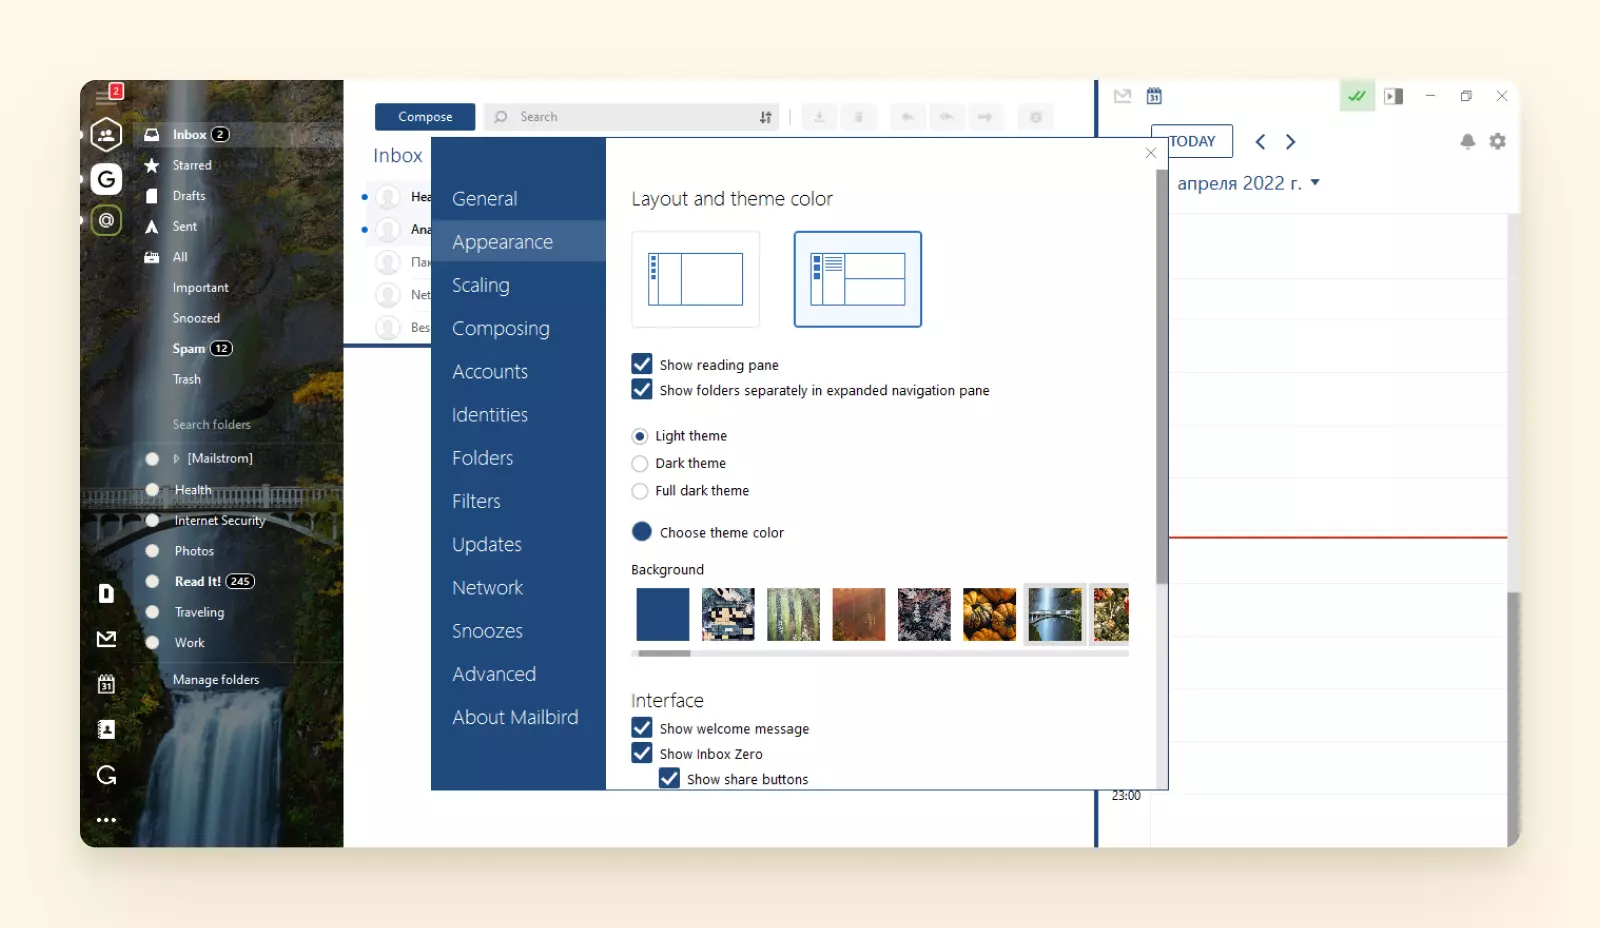
You can also customize your layout and change your theme.
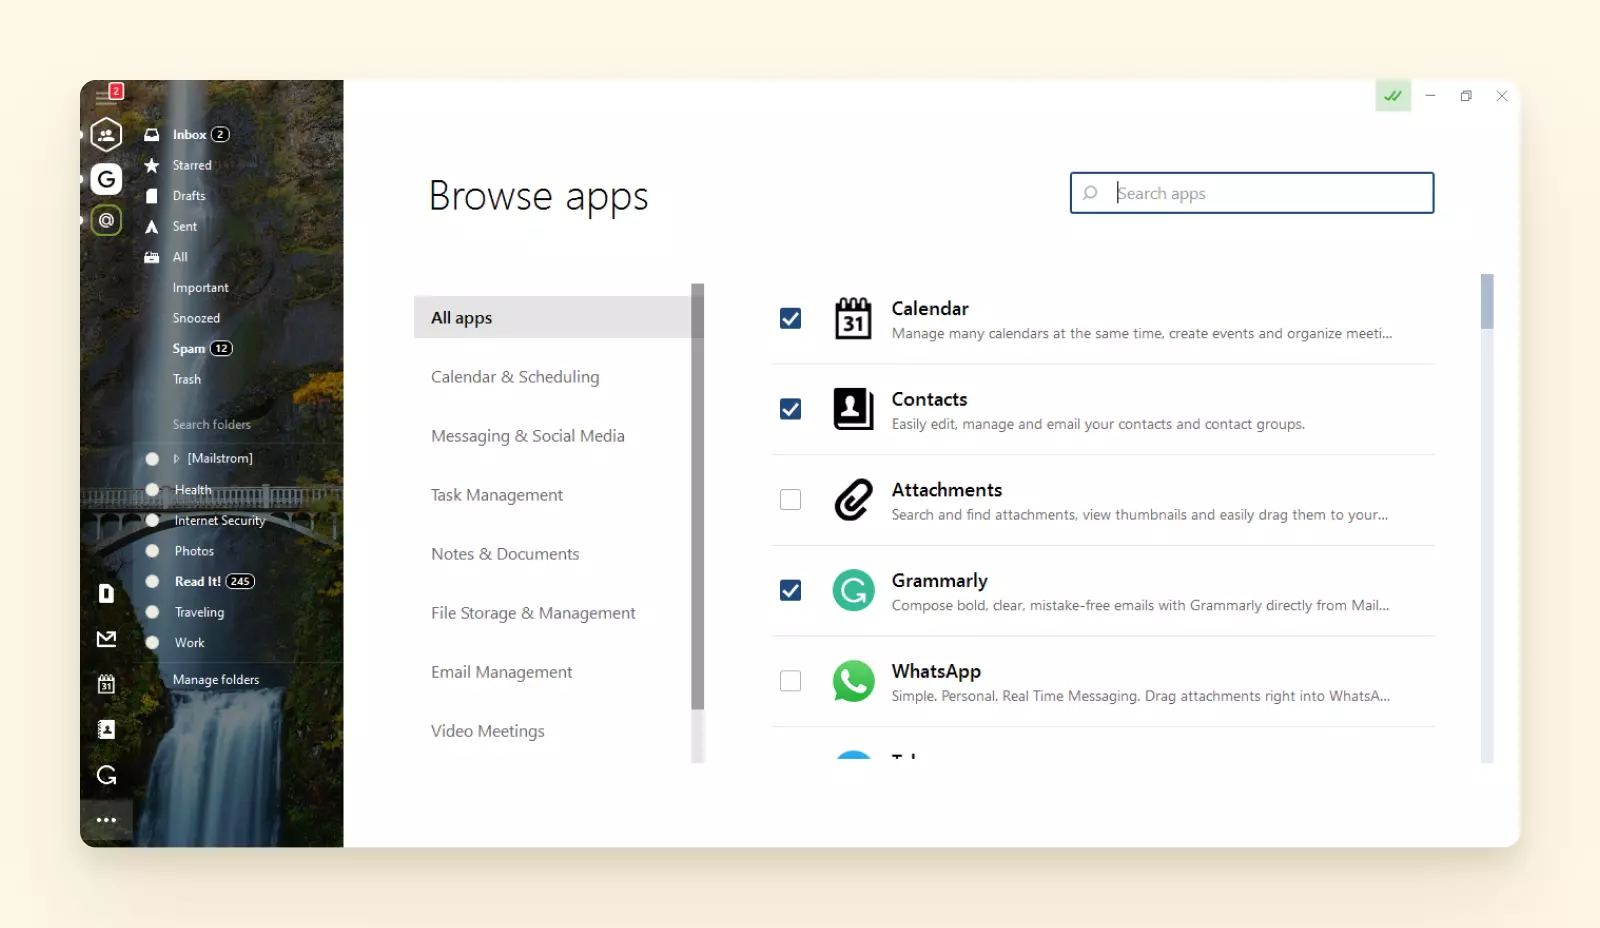
Add your favorite integrations
The final step is connecting all your favorite third-party integrations. For example, you can add apps, such as your Google Drive, a task manager, WhatsApp, Facebook, and Evernote. Once selected, click continue to complete the set-up process.
2. Enable Two-Step Verification
Also known as two-factor authentication, it adds an extra layer of security to your account in case your password gets stolen. It's a great way to protect your and your bussiness' identity security.
This feature requires a second sign-in step after you input your password, which reduces the chances of outsiders gaining unauthorized access to private information. This second step is a security code that Google sends to your phone number or the mobile Google app, which sends a verification request.
Let's say someone figured out your password or used a tool to crack it. This won't be enough to access your account, because they also need your phone at hand and unblocked.
How to enable 2FA
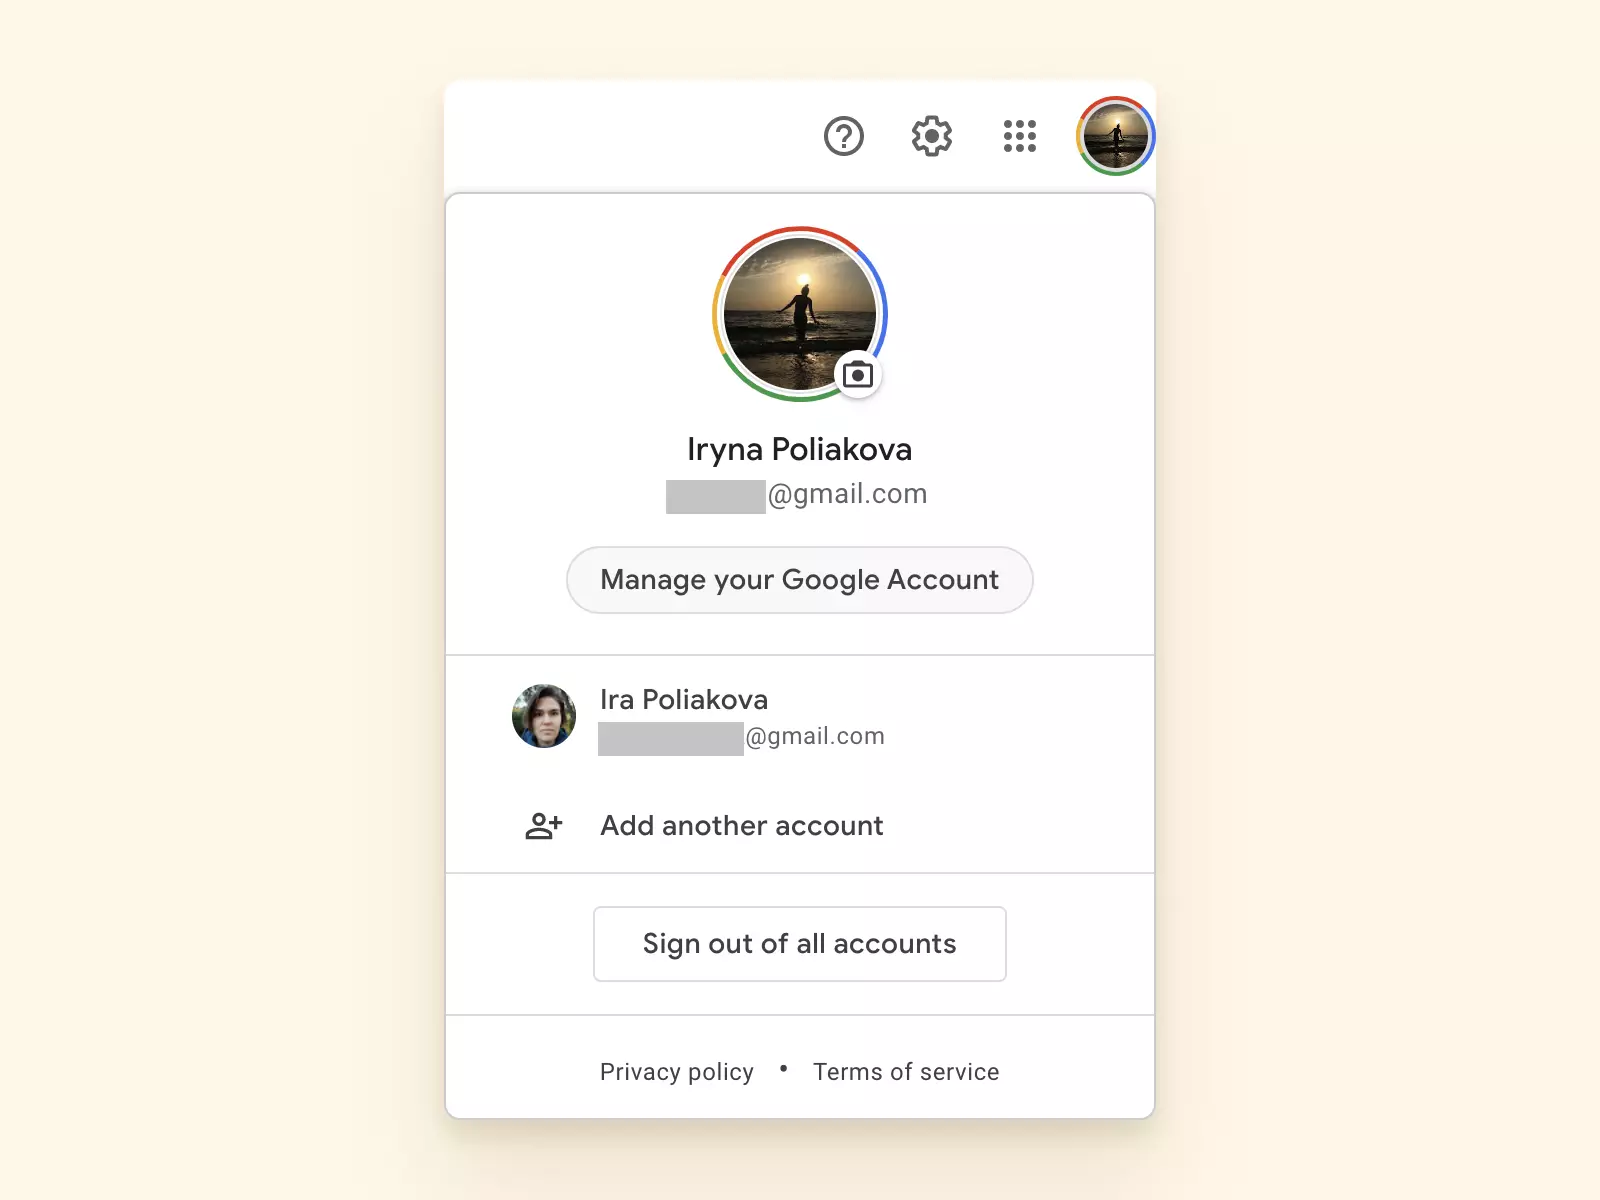
1. Open your Google Account. Click on your avatar and then "Manage your Google Account."
2. In the navigation panel on the left-hand side of your screen, select Security.
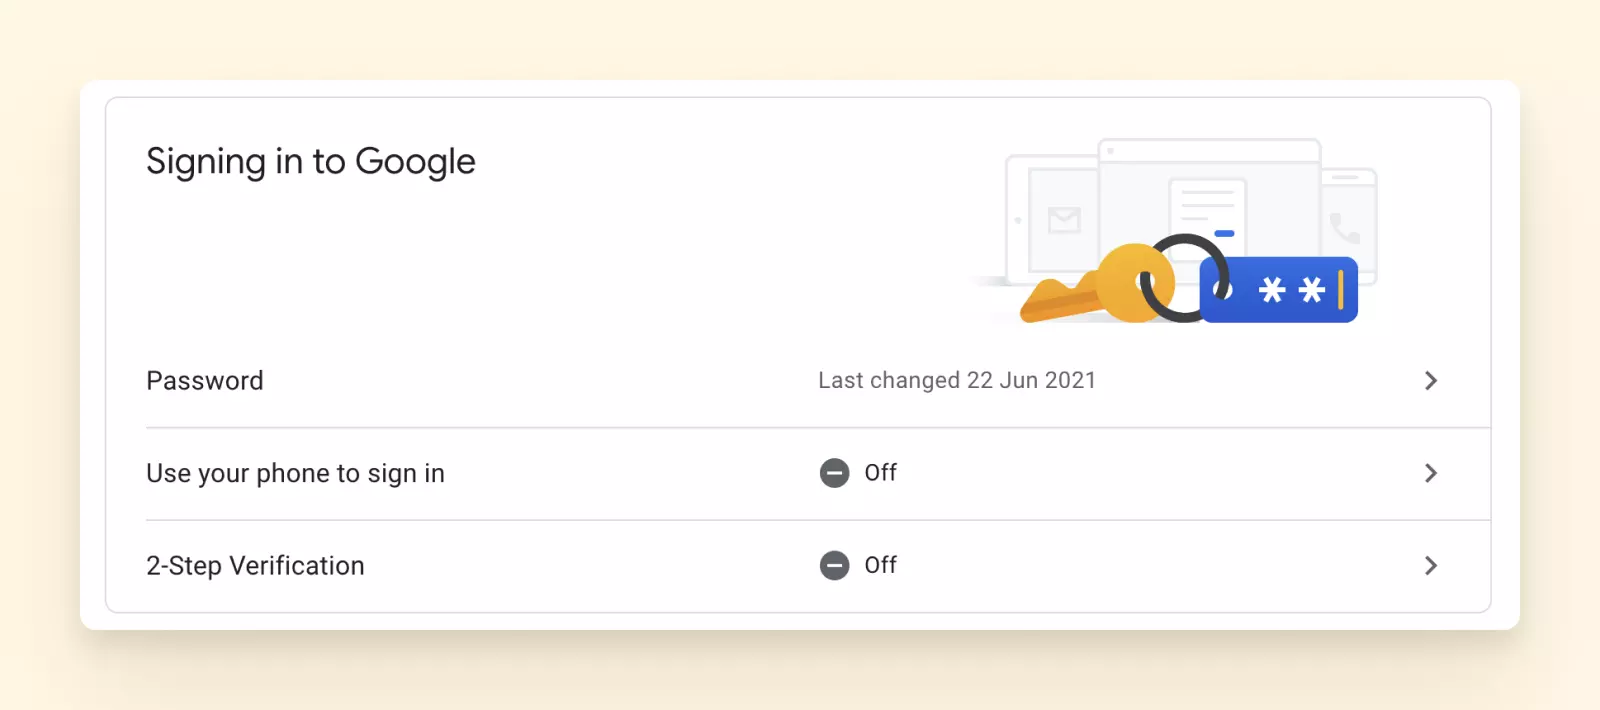
3. Under "Signing in to Google," select 2-Step Verification and then click Get started.
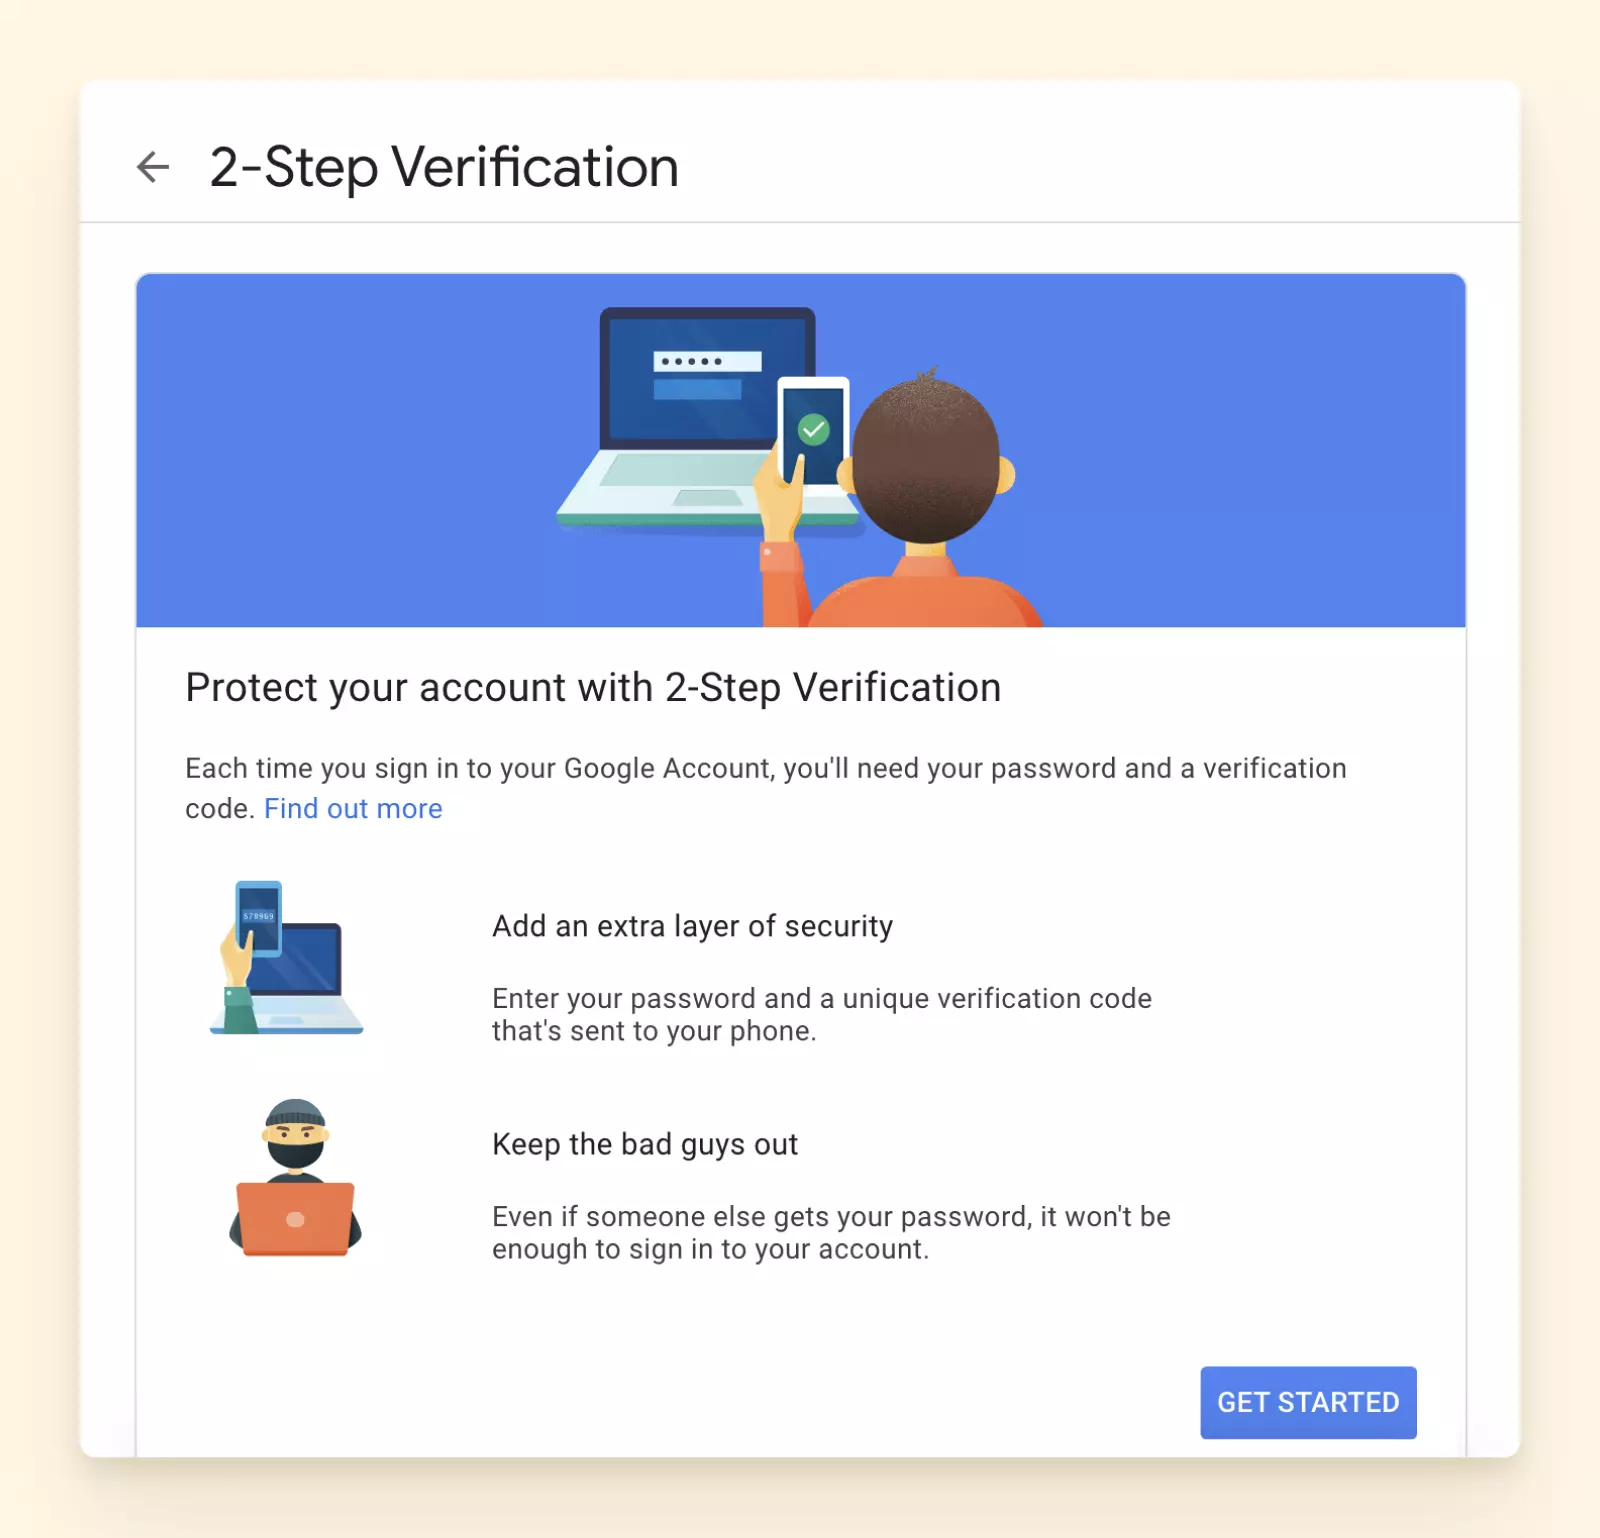
4. You will then be required to sign into the required Gmail account. Input your password and then click on Next. From here, click to turn on two-step verification.
5. You will then need to input a recovery phone number where you'll receive a numeric code to authorize sign-in access. Click Send code, then enter the verification code and click Next.
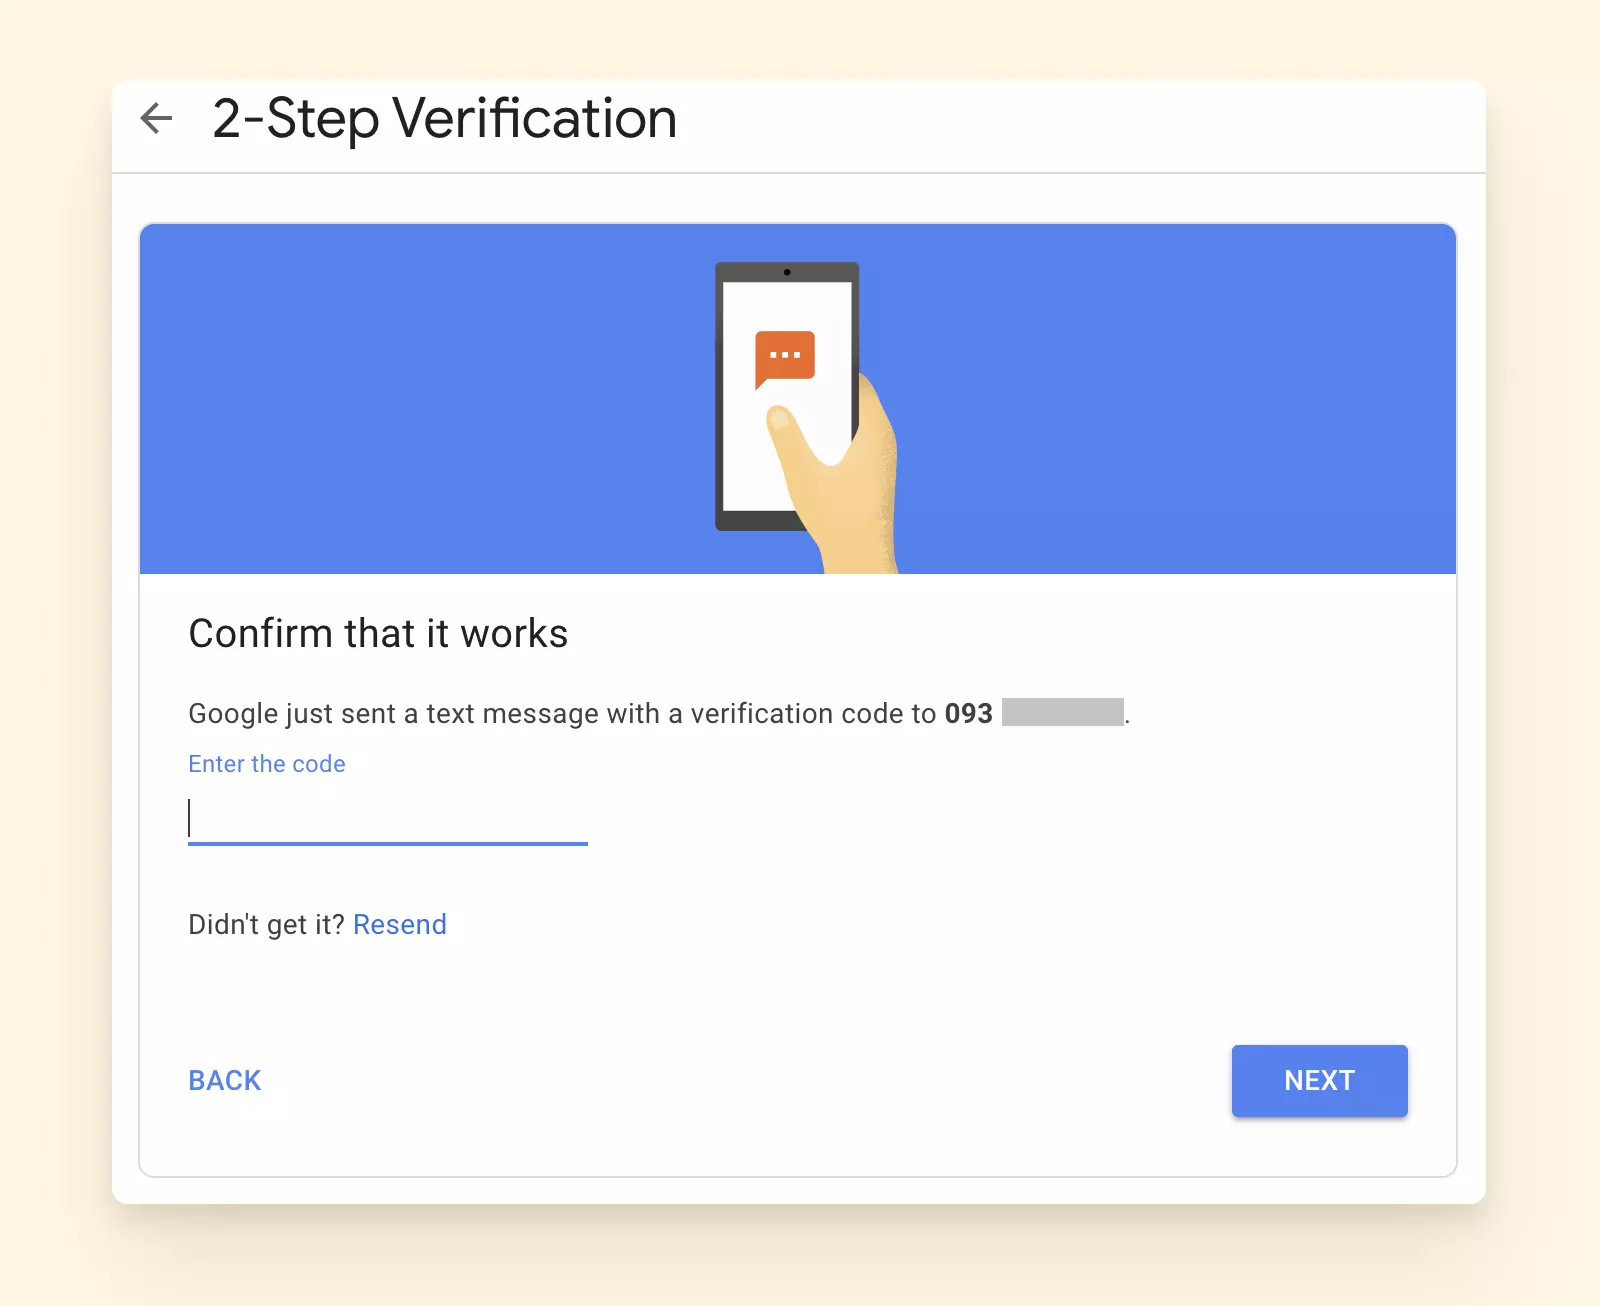
6. Check the Trust this computer option if you don't want to go through the same process every time you log in on a trusted device. Select Next and click Confirm.
Your two-step verification is now active.
3. Use Apps with OAuth 2.0
OAuth 2.0 stands for "Open Authorization." It's a standard designed to grant websites or applications access to resources hosted by other web apps on behalf of a user.
Instead of your credentials, OAuth uses access tokens to prove your identity.
Basically, you're telling Google that it's okay for an app or device to access the inbox on your behalf. For example, your scanner can email a photocopied document to an address.
The standard consists of a few essential parts:
- Resource owner: The user granting access to the protected resources
- Client: The system that requires access to the protected resources
- Authorization server: Once the resource owner gives access, the authentication server issues the required access tokens
- Resource server: The resource server receives and validates the generated access tokens
Apps that use OAuth
- Gmail
- Apple Mail
- Outlook Mobile
- Yahoo Mail app
- Windows Mail
Here's how it works:
Obtaining OAuth 2.0 credentials from the Google API Console
Any application that uses OAuth 2.0 to access Google APIs must have authorization credentials. To do this:
- Go to the Credentials page.
- Click on Create credentials.
- Select OAuth client id.
Next, you need to select the web application type:
- Fill in the form and click on Create.
- Download the client_secret.json file from the API console and store it in a secure location.
Obtaining an access token from the Google Authorization Server
Examining scopes of access granted by the user
A consent window shows the name of the application, the Google API services it's requesting access to, and a summary of the scopes of access to be granted by the user.
From here, you can consent to grant access to one or more scopes as requested by your application. Once access is granted, an authorization code is provided.
Sending the access token to an API
The next step is to exchange the authorization code for access tokens and send them to an API.
Refreshing the access token
Since access tokens can expire, you might need to refresh as needed.
4. Grant Access to Secure Apps Only
Blocking logins from less-than-secure apps helps to keep your account safe. That said, Google will automatically turn off the Less secure app access setting on your phone to ensure this.
In other words, only secure apps will get access.
Now, once these apps meet Google's security standards, you can:
- See what level of account access you're giving to the app before connecting your Google Account: You may either consent to provide certain information or refuse access.
- Let the app access only a relevant part of your Google Account, like your email or calendar: With this setting, confidential information is protected, as the third-party apps will have restricted access to your Google account as specified.
- Connect your Google Account to the app without exposing your password (e.g., in Mailbird): You can also use a secure desktop email client like Mailbird to securely manage multiple email addresses.
- Disconnect your Google Account from the app at any time: You can also withdraw permissions by disconnecting your Google account from these third-party apps or sites.
Wrapping Up
While the new restrictions on Google's security policies do not apply to all applications and websites, several email clients will take a hit. Thankfully, most modern tools use proven OAuth 2.0 technology, which does not violate Google's new security policies.
Besides, you can add more protection to your account by using 2FA and verified email clients like Mailbird.
Remember, enabling two-step verification improves your account security and reduces the chances of account hacks.