The Power of FollowUp CC in Mailbird 2.0
Schedule automatic reminders with FollowUp CC so you will never forget an important email or task. Simply activate FollowUp.cc in your Mailbird App Store. It will then appear in the left menu panel.
Getting Started
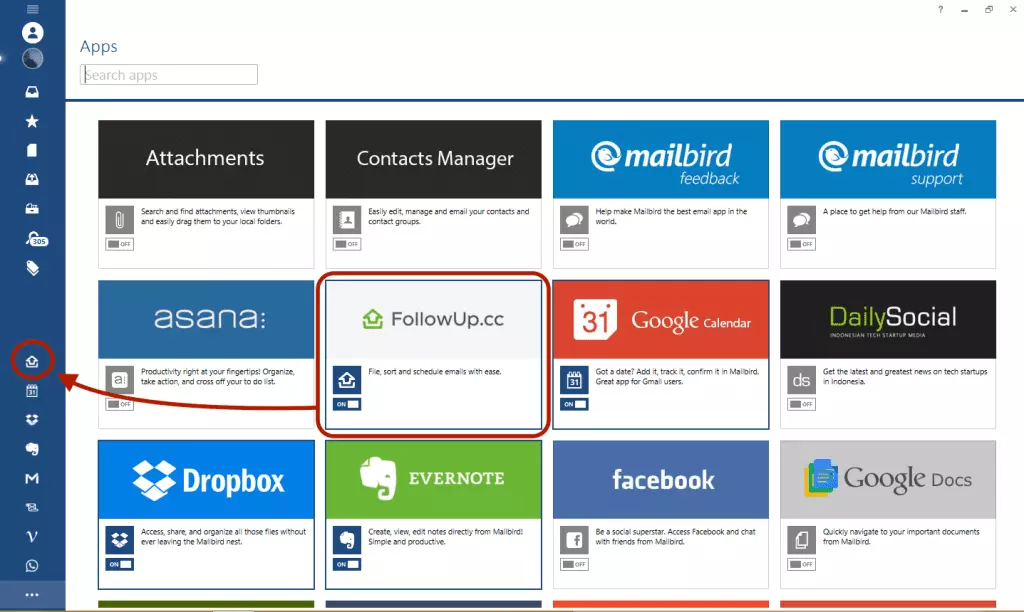
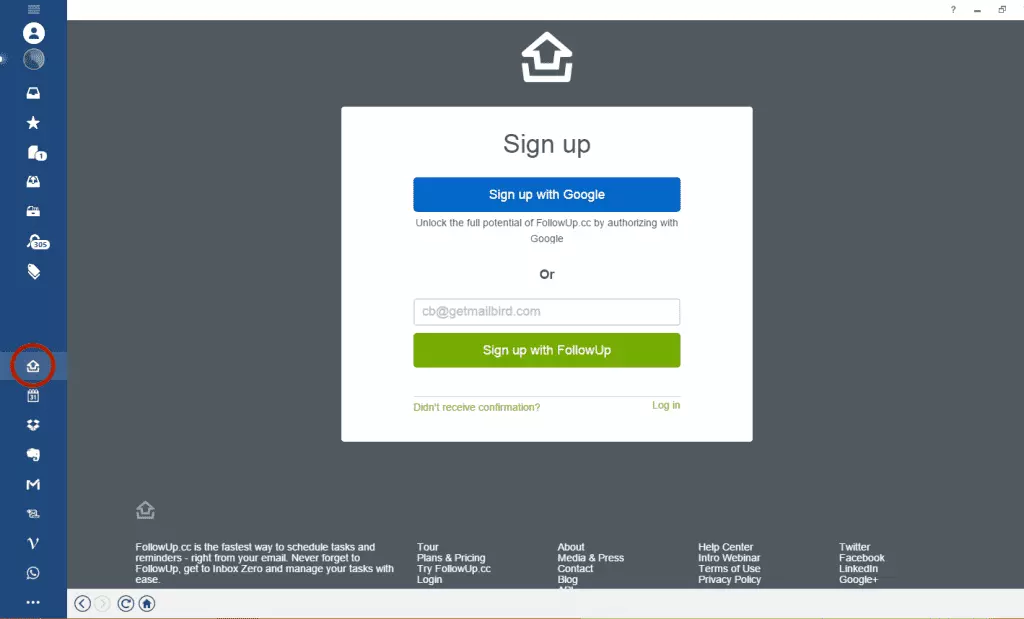
- Click on the FollowUp.cc icon and sign in with your email or Gmail account.
- After signing in you are all set up to schedule your first reminder. You will have a little calendar icon displayed on the bottom of every compose/reply/forward window. Click the icon to set the date when you want to get a reminder.
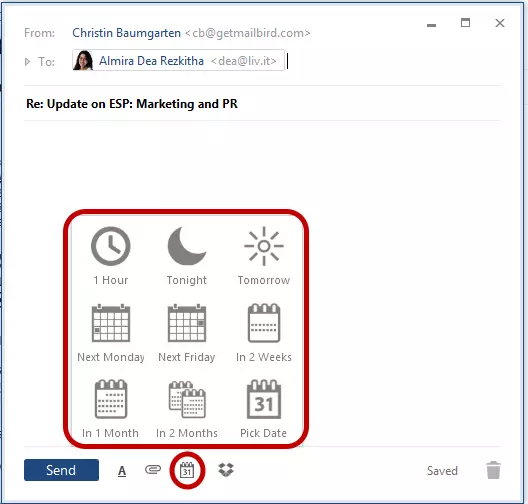
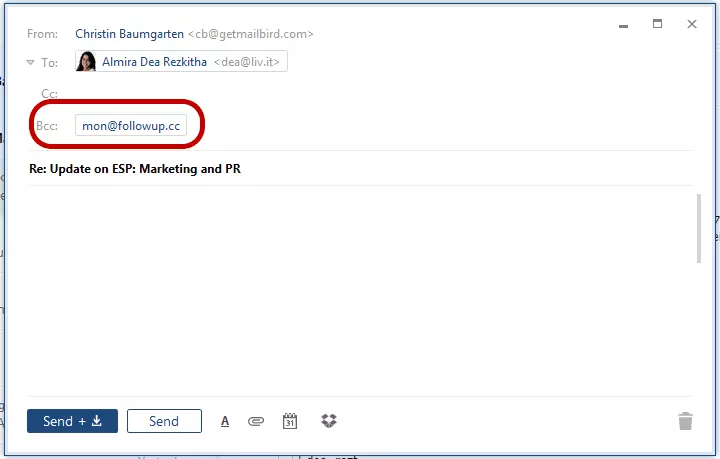
- FollowUp.cc will automatically appear in the BCC field of your message. The email address will differ, depending on the date you picked.
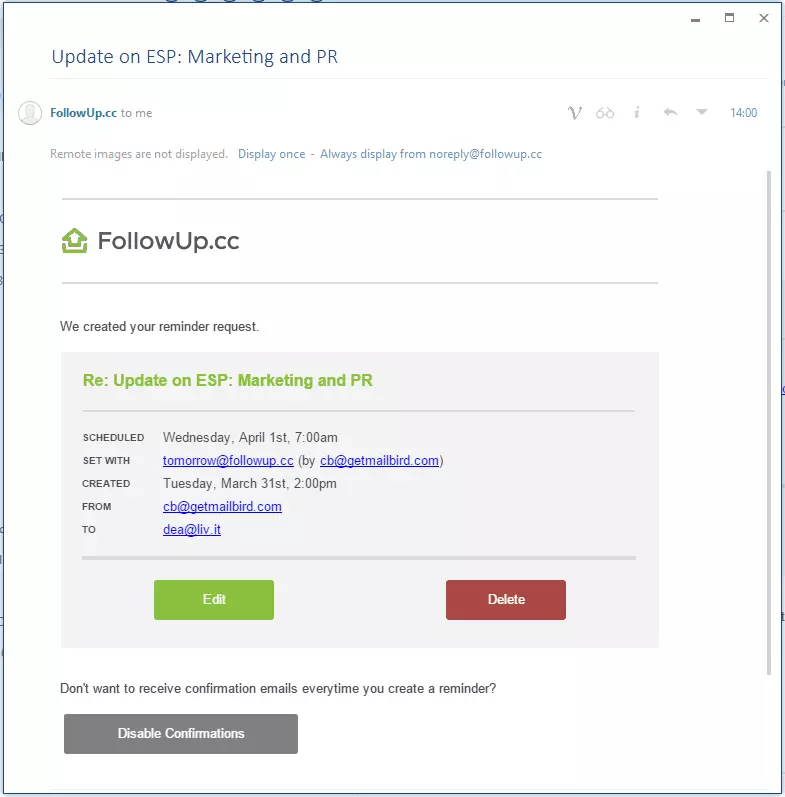
- After sending, you will receive a confirmation to your email address, listing the details of your reminder. You can easily disable them if you prefer not to get one.
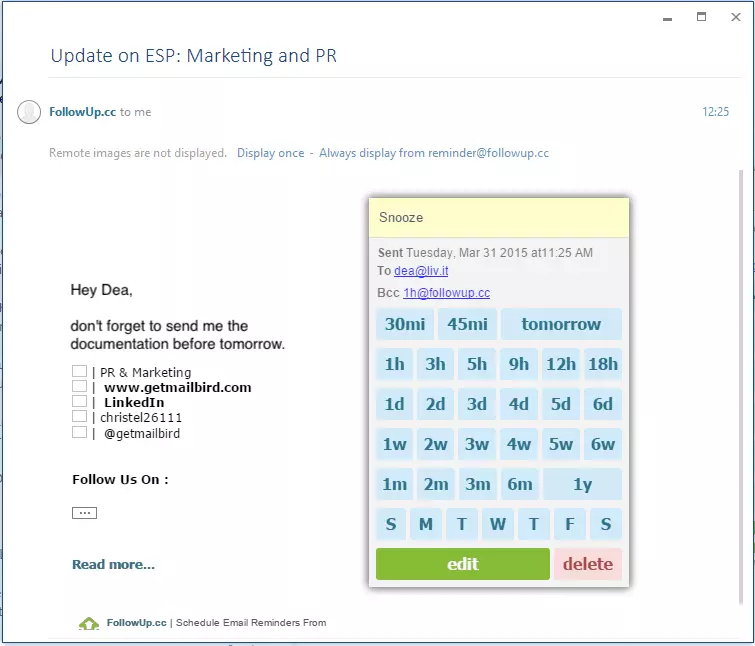
- The email reminder will appear as a regular email in your inbox, giving you different options on what action you would like to take next. Email reminders can be snoozed, rescheduled, or simply deleted or archived.
Note that aside from email reminders, you can also schedule the app to send a later follow-up email to a previous conversation.
Advanced FollowUp.cc Tips
If you have signed up for one of FollowUp's subscription plans, you can simply manage your reminder by going to the FollowUp.cc icon on the left. The reminder will be listed on your FollowUp.cc calendar.
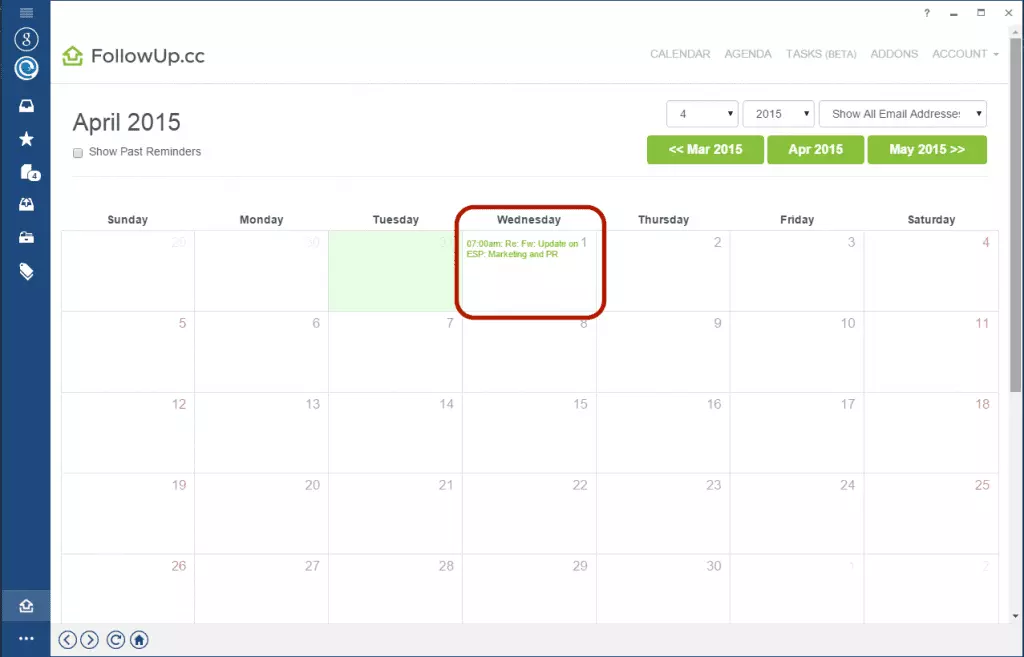
From there you will be able to view and/or edit the reminder details, assign them to a task, or simply delete them.
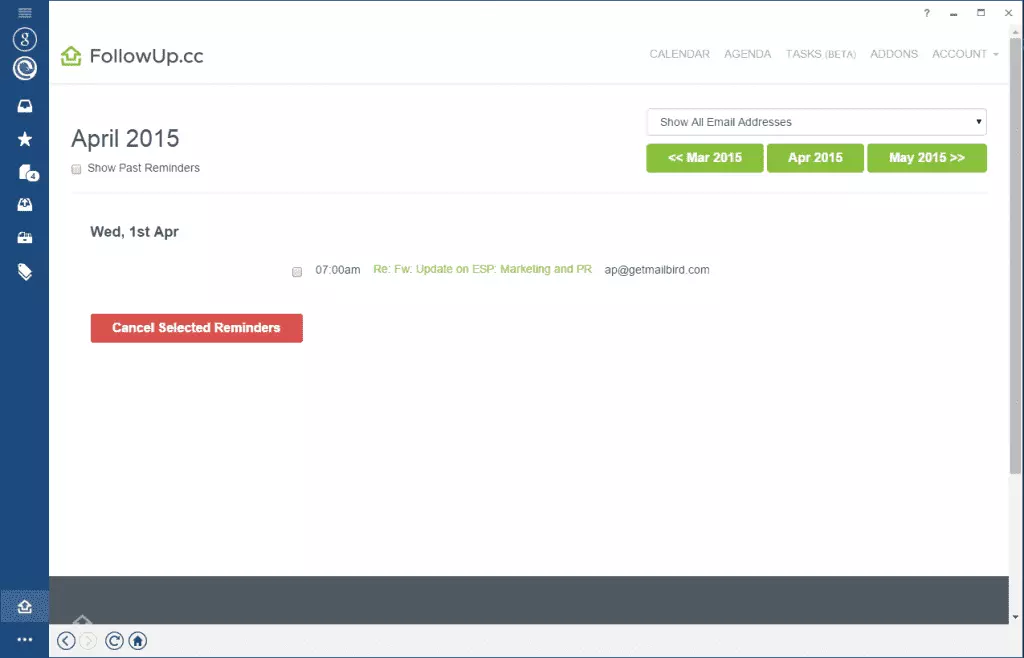
Other FollowUp features include:
- Send later: you can schedule emails to be sent at a later time when you deem it appropriate to follow up.
- Email tracking: you can activate a tracker on an email to count every time someone opens it.
- Bookmarked pages: set email reminders for pages bookmarked via the app.
Sounds neat. But have you started using it already? Tell us what you think in the comments section below.