Manage Multiple Email Accounts in One Inbox (Without Switching Constantly)
Practical Mailbird setup for multiple inboxes: Unified Inbox on startup, account colors, identities and signatures, a small folder set, and three noise-cutting rules—plus troubleshooting and backup.
This guide walks you through a practical 30–45 minute Mailbird setup to manage multiple email accounts from one place: connect your inboxes, enable Unified Inbox, and build a small folder-and-rule system so you can process email without constant switching.[2]
It’s designed as a simple manage multiple inboxes workflow: triage everything in one view, let rules handle predictable noise, and use identities plus signatures so replies go out from the right address.
What’s new
A Microsoft account won’t sign in (or suddenly stopped after an update). Install the latest Windows updates (KB5085516 or later, if applicable), then remove and re-add the account using Microsoft OAuth 2.0.[1][12]
What you’ll set up
Difficulty: easy if you have passwords/MFA ready; moderate if a workplace admin needs to approve access.
Key takeaways
- Decide which accounts are Daily vs Occasional so Unified Inbox stays focused.
- Add accounts one at a time (wait for each inbox to load before adding the next).
- For Outlook.com / Microsoft 365, choose Microsoft OAuth 2.0 during setup.
- Turn on Unified Inbox and make it open on startup.
- Use identities + distinct signatures for role send-from addresses (like
billing@orsupport@). - Create 3–6 folders and sync them with the server; file quickly using V.
- Add three core rules (newsletters, receipts, VIPs) and keep Mailbird running so filters can apply to incoming mail.
- After setup, back up your Mailbird data folder (especially before moving computers).
Table of contents
Before you start
- Prerequisites: Working sign-in for each mailbox (password, passkey, or MFA), plus permission to connect any managed work accounts.
- If you can choose: Prefer IMAP vs POP3 for multi-account setups, since IMAP keeps mail synced across devices.[13]
- Tools: Mailbird installed; a notes app for your “account map”; optional password manager; stable internet connection.
- Time: About 30–45 minutes for 2–5 accounts, plus initial sync time for large mailboxes.[2]
- Cost: $0 to start, but connecting more than one account requires a plan that supports multiple connected accounts.[3]
- Security: Don’t share passwords over email/chat. When a provider offers a secure sign-in window (OAuth), use it. If your organization has compliance rules for email access, follow IT guidance.
Step-by-step: manage multiple email accounts with one workflow
Manage multiple email accounts with one workflow in Mailbird
-
1) Make a one-page “account map”
Open a note and create three columns: Address, Purpose, and Where you want to see it (Unified Inbox or Separate). List every email address you currently check, including role addresses (like
support@) and “quiet” addresses used for sign-ups.Check: You can point to each address and say why it exists.
-
2) Choose your “Daily” vs “Occasional” accounts
On your account map, mark each account as: Daily (you need it in your Unified Inbox) or Occasional (you can check it on a schedule). If an account must stay in a specific app for policy reasons, mark it “Separate.”
Check: You have a clear Daily set, an Occasional set, and any “must stay separate” accounts are labeled.
-
3) Log into every mailbox once (in a private browser window)
Open an incognito/private browser window and sign into each account. Complete any “verify it’s you” prompts now so setup doesn’t stall later. Send yourself one test email to each address (from another account) so you can confirm delivery during setup.
Check: Every account signs in successfully on the web, and your test emails arrived.
-
4) Add your accounts to Mailbird (one at a time)
In Mailbird, open the menu (three horizontal lines) → Settings → Accounts → Add. Finish setup for one account, wait for the inbox to load, then add the next one.[5]
Check: Each account appears in your account list and can send/receive a test email.
-
5) Add Outlook.com / Microsoft 365 accounts using Microsoft OAuth 2.0
When adding a Microsoft-powered account, choose Microsoft OAuth 2.0 so Mailbird redirects you to Microsoft’s login page. If setup fails, try again and select Edit server settings to pick Microsoft OAuth 2.0 explicitly when available.[12]
Check: You complete a Microsoft sign-in in the browser and the account finishes adding without an authentication error.
-
6) Turn on Unified Inbox (and make it open on startup)
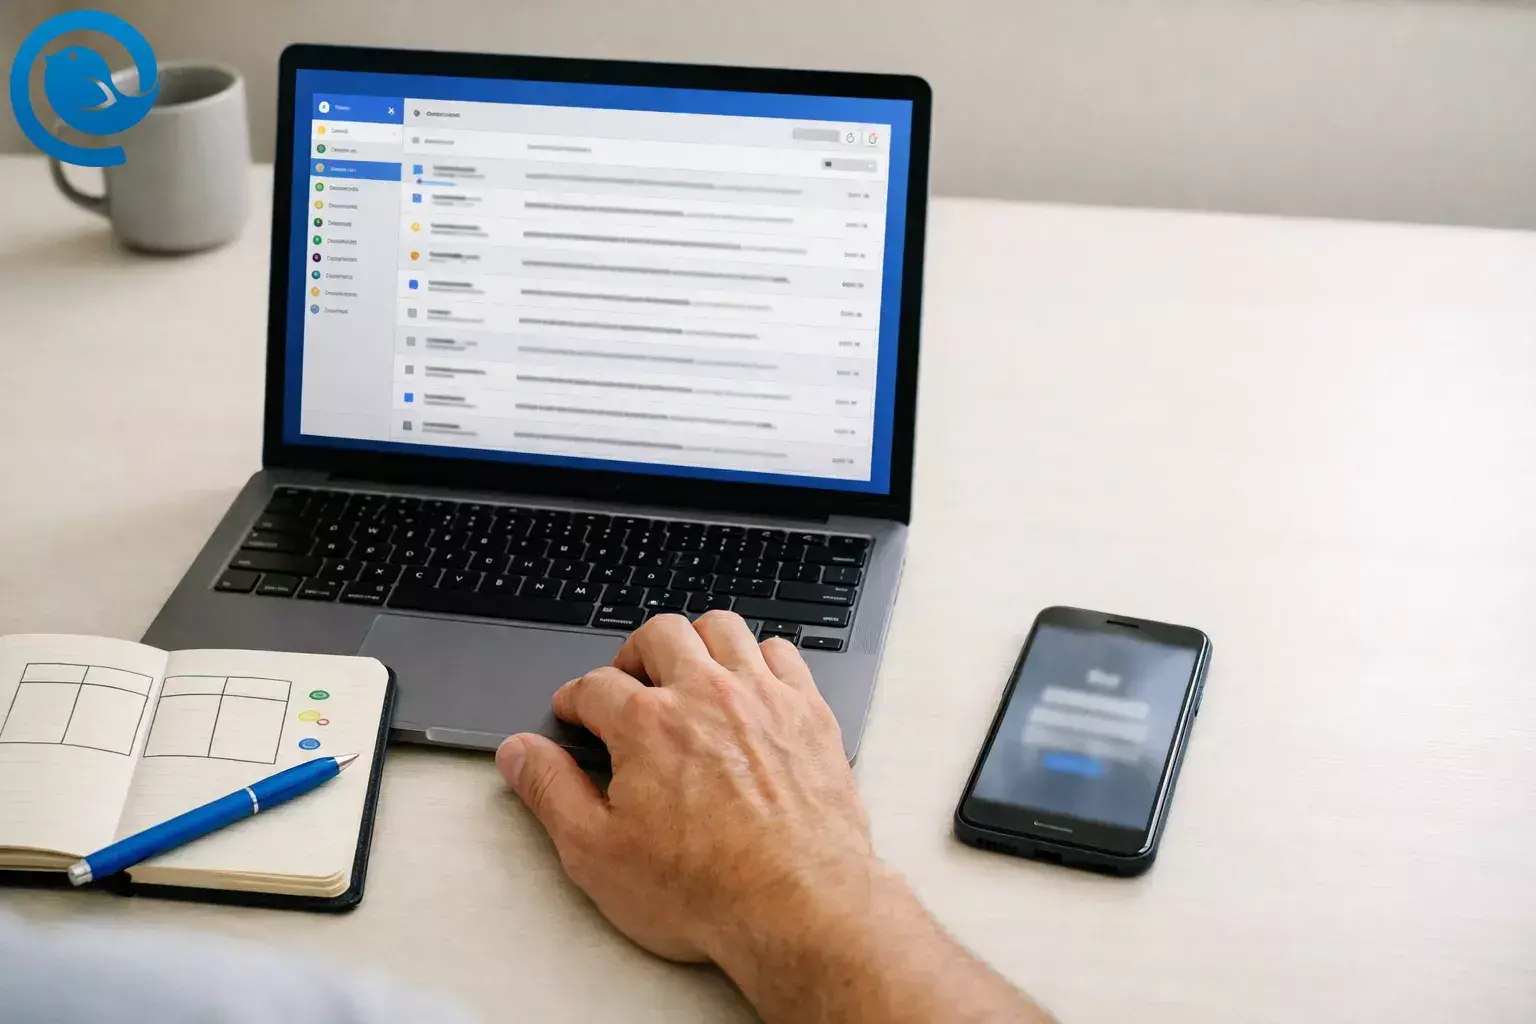
After you’ve added at least two accounts, go to Settings → Accounts and check Enable unified account. Unified Inbox shows messages from multiple connected accounts in one view while keeping each message tied to its original account for replies. Then set Unified Inbox to open on startup (look for Select on startup).[4]
Check: A Unified Inbox option appears, and restarting Mailbird opens directly to it.
-
7) Color-code accounts so you can scan faster (optional)
Assign a distinct color to each connected account, then return to Unified Inbox and confirm you can tell which account received each message at a glance. This is a simple way to reduce “wrong From address” mistakes when you’re moving quickly.[3]
Check: Before you click Reply, you can identify the right account just by the color indicator.
-
8) Add identities (aliases) and set a signature for each send-from address
If you send from addresses like
billing@orsupport@, add them as identities: Mailbird menu → Settings → Identities → Add, then use Test Connection for each identity before you rely on it.[5]Next, open each identity and add a great email signature that makes the role obvious (example: “— Alex | Billing” vs “— Alex | Support”).[6]
Check: The From dropdown shows each identity, and the matching signature appears automatically in a new draft.
-
9) Create 3–6 folders you’ll actually use (then sync)
Go to Mailbird menu → Settings → Folders and create a small set (for example: Action, Waiting, Read Later, Receipts, Reference). Click Sync with server so the folders stay consistent across devices, and use V to assign a message to a folder while you’re processing mail.[7]
Check: You filed five old emails into folders and can locate them again quickly.
-
10) Add three “noise reducers” with filters/rules
Go to Mailbird menu → Settings → Filters and create three rules: (1) newsletters/promotions → Read Later, (2) receipts → Receipts, (3) VIP senders → mark important. Click Save and Run to apply the rule to existing mail and to future incoming mail.
If you can’t select “Move to folder” for Unified Accounts, create the same rule per account instead. Keep Mailbird running during your day—filters apply to incoming messages only while Mailbird is running.[8]
Check: A new receipt lands in Receipts, and a newsletter doesn’t stay in your main inbox.
-
11) Use Quick Reply to clear messages without opening extra windows
Open any email and reply in the same reading window using Quick Reply. On Windows, press r or a to start a quick reply from the keyboard.[9]
Check: You replied to three messages in a row without opening a separate reply window.
-
12) Test Advanced Search for “where did that email go?” moments
Click the Advanced Search icon and run a search that narrows by folder and date (for example, search your Receipts folder for an invoice from last month). Advanced Search can’t search inside Spam or Trash, so move a message out of those folders first if needed.[10]
Check: You can locate one old email without switching accounts.
-
13) Back up your Mailbird data after setup (especially before moving computers)
On Windows: quit Mailbird completely (including background), then go to
C:\Users\<your-username>\AppData\Local, copy theMailbirdfolder, and paste it to a safe location. Don’t use “Paste shortcut”—you want a real folder copy.[11]Check: You can see a copied “Mailbird” folder in your backup location.
A simple manage multiple inboxes workflow (daily)
- Start in Unified Inbox and triage. Read once and decide: reply, file to a folder, or leave it until your next processing pass.[4]
- Reply in place. Use Quick Reply for short responses and confirm the From line before you type.[9]
- File fast as you go. Use V to move messages into folders while you’re processing mail.[7]
- Let rules reduce noise. Keep Mailbird running during the day so filters can apply to incoming mail.[8]
- Check “Occasional” accounts on a schedule. This keeps low-priority messages from dominating your day.
Why this works
Email organization across multiple accounts breaks down when you’re doing three jobs at once: reading, sorting, and sending from the right identity. This setup separates those jobs: Unified Inbox gives you one place to triage, folders and rules reduce noise automatically, and identities/signatures make the correct “From” address obvious before you hit Send.
What can change
Email providers and workplace admins can change sign-in requirements and security policies. If an account suddenly stops connecting, check for system updates, then remove and re-add the account using the provider’s sign-in flow.
Troubleshooting
| Symptom | Likely cause | Fix (do this now) |
|---|---|---|
| You don’t see “Unified Inbox.” | Only one account is connected, or Unified Inbox is turned off. | Add a second account, then go to Settings → Accounts and check “Enable unified account.”[4] |
| One account never shows up in the unified list. | That account is excluded from the unified view. | Open Settings → Accounts and verify the account is included in Unified Inbox, then save and return to the unified view.[4] |
| You replied from the wrong address. | You’re working quickly in a unified view and didn’t verify the sender identity. | Turn on account colors, add distinct signatures per identity, and make “check the From line before typing” your rule.[3] |
| Filters work sometimes, but not always. | Mailbird filters apply to incoming messages only while Mailbird is running. | Keep Mailbird open during your workday, or create server-side rules in your provider’s web settings for anything mission-critical.[8] |
| You can’t “Move to folder” when creating a rule for Unified Accounts. | Folder move/copy actions aren’t supported in unified-account filters in some cases. | Create the same rule per account (fastest reliable option).[8] |
| A Microsoft account won’t sign in (or suddenly stopped after an update). | A Windows update can break Microsoft account sign-in for some users, and/or the account isn’t using modern authentication. | Install the latest Windows updates (KB5085516 or later, if applicable), then remove and re-add the account using Microsoft OAuth 2.0.[1][12] |
| Search can’t find a message you know exists. | You’re searching the wrong folder, or the message is in Spam/Trash (which Advanced Search can’t search). | Open the account/folder where it should live, move the message out of Spam/Trash if needed, then rerun Advanced Search with folder/date filters.[10] |
| You want notifications for only one account. | Mailbird doesn’t currently offer per-account notification settings. | Decide on one rule: notifications on (and you tolerate more pings) or notifications off (and you check on a schedule). Use OS Focus/Do Not Disturb to reduce interruptions.[2] |
Variations
Variation 1: Work + Personal (two accounts)
Include both accounts in Unified Inbox, use two distinct colors, and create one rule: receipts → Receipts. Everything else stays in the inbox until you process it.
Variation 2: Freelancers (one account per client)
Give each client a color, create a folder per client (Client A / Client B), and add one identity per “From” address you use. Keep client status updates fast by using Quick Reply and a consistent folder system.
Variation 3: Role addresses (support@, billing@) without extra inboxes
If you have one mailbox but multiple “From” addresses, set them up as identities so you can send from the correct address without adding another inbox.[5]
Variation 4: You can’t install desktop software (locked-down device)
Use browser tabs: sign into each account, pin the tabs, and set a fixed check schedule. If you need a “single place” view, consider provider-side forwarding into one inbox—then be extra careful with your reply-from address.
Make-ahead / storage / scaling
Make-ahead (set it once)
- Save your “account map” note somewhere easy to find (it becomes your setup checklist on a new device).
- Create folders first, then rules. Don’t build 20 rules on day one—start with newsletters, receipts, VIPs.
- Create a distinct signature for each identity so the right sender is obvious before you type.
Storage (keep inboxes readable)
- File messages as soon as they’re done—don’t keep your inbox as long-term storage.
- For large attachments you need to keep, save them to a secure folder, confirm the file opens, then file the email so it’s still searchable later.
- Once a month, search for “unsubscribe” and remove newsletters you never read.
Scaling (when you add more accounts)
- Keep Unified Inbox focused on “Daily” accounts; connect Occasional accounts but exclude them from the unified view.
- Re-use your three core rules for each new account (newsletter, receipt, VIP) before you add anything fancy.
- Back up again after major changes (new accounts, new identities, big rule changes).
Frequently Asked Questions
Should I combine every email account into one inbox?
No. Put your “Daily” accounts in the unified view and keep “Occasional” accounts separate so they don’t flood your day. If an account must stay in a specific app for work policy reasons, keep it separate.
Will Unified Inbox merge my accounts together permanently?
No. Unified Inbox is a combined view for reading and triage. Messages stay tied to their original accounts, and replies should go out from the correct address.[4]
IMAP vs POP: which should I use for multiple accounts?
If you can choose, IMAP is usually better for multi-account setups because it keeps mail synced across devices. POP downloads mail to one device and can make messages look “missing” on other devices.[13]
Why do my rules stop working when my computer is off?
If your rules are running inside your email app, they typically apply only when the app is running. For always-on sorting, set server-side rules in your provider’s web settings.[8]
How do I stop replying from the wrong email address?
Can I set notifications for only one account in Mailbird?
Not per account. The practical workaround is to set a check schedule (or use OS Focus/Do Not Disturb) so low-priority accounts don’t interrupt you all day.[2]
How do I add an alias like support@ as a send-from option?
Add it as an identity, then test it before you rely on it. Once it’s working, pick it from the “From” dropdown when composing.[5]
How do I back up my Mailbird setup before moving to a new PC?
Quit Mailbird completely, then copy the Mailbird data folder to a safe location. Restore by copying it back to the same place on the new computer.[11]
Quick checklist (screenshot this)
- I listed every email address I manage (account map).
- I marked each account as Daily, Occasional, or Separate.
- I signed into each account on the web and confirmed MFA works.
- I added each account in Mailbird (Settings → Accounts → Add).[5]
- I added Microsoft accounts using Microsoft OAuth 2.0.[12]
- I enabled Unified Inbox and set it to open on startup.[4]
- I color-coded accounts (so I can spot the right inbox fast).[3]
- I added identities for any extra “From” addresses and tested them.[5]
- I created 3–6 folders and synced them to the server.[7]
- I created three core rules: newsletters, receipts, VIP.[8]
- I used Quick Reply to answer three emails without extra windows.[9]
- I tested Advanced Search to find a message without switching accounts.[10]
- I backed up my Mailbird data folder (Windows) after setup.[11]
Sources
- Microsoft Support: March 21, 2026—KB5085516 (Out-of-band) — Fix for Microsoft account sign-in issues after March 10, 2026 updates
- Mailbird: How to Manage Multiple Email Accounts in One Inbox (time estimate; notification note)
- Mailbird: How to Combine Multiple Email Accounts Into One Inbox (plans, unified inbox setup, account colors)
- Mailbird Support: Unified Inbox (what it is; enable unified account; startup option)
- Mailbird Support: Connecting Accounts and Adding Identities in Mailbird (Accounts → Add; Identities → Add; Test Connection)
- Mailbird Support: Create a Signature (edit signatures via Identities)
- Mailbird Support: How to organize folders from within Mailbird (Folders settings, Sync with server, V shortcut)
- Mailbird Support: Setting up Filters and Rules (Save and Run; filters apply only when Mailbird is running; unified-account limitations)
- Mailbird Support: Quick Reply (reply from the same window; keyboard shortcuts)
- Mailbird Support: Advanced Search queries and UI (advanced filters; no Spam/Trash search)
- Mailbird Support: How to backup your email data (Windows data folder path; quit app before copying)
- Mailbird Support: Microsoft OAuth 2.0 (modern authentication) support (recommended setup flow)
- Mailbird Support: What is the difference between IMAP and POP3? (IMAP recommended; POP limitations)