Mailbird Blog

Mailbird loves Moo.do

Mailbird loves Moo.do

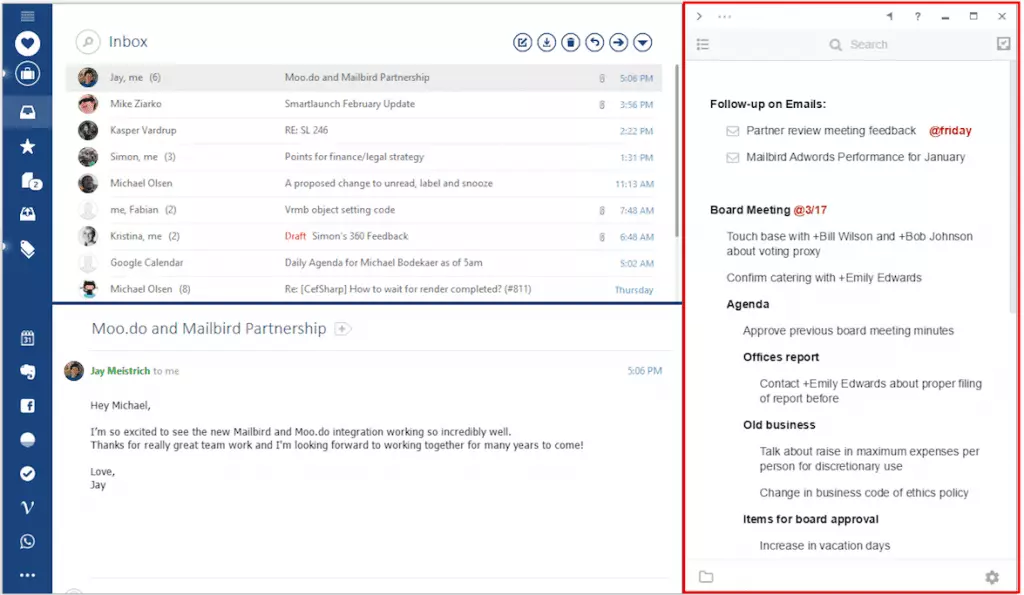
Moo.do was one of the first deep integrations that came with the launch of Mailbird 2.0. Thanks to this awesome partnership and the great support of the Moo.do team you can turn your Email into a real To-Do list that you can organize, prioritize and schedule right alongside all your projects and tasks.

Getting organized can be that simple

1. Simply activate the Moo.do App in your Mailbird App Store. It will then appear in the menu panel on the left of the Mailbird window.
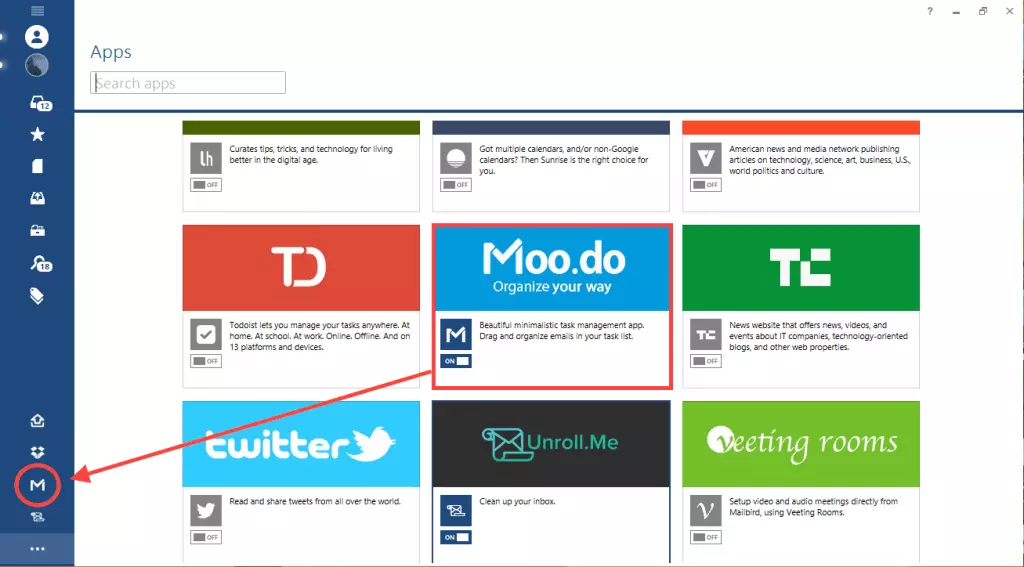
Activate Moo.do
Activate Moo.do
You will also be able to access it from your Mailbird sidebar and have your To-Do list open right next to your Inbox.
Sidebar
Sidebar
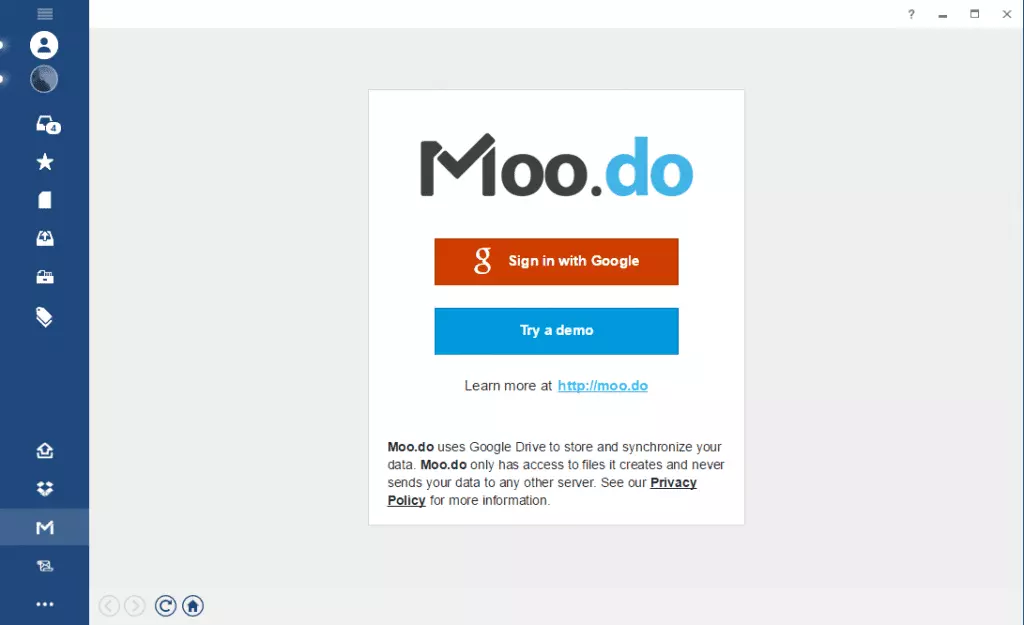
2. Sign up for Moo.do using your Gmail account. Moo.do uses your Google Drive to store and synchronize your data. Moo.do has only access to the folder created by Moo.do. No other folders can be accessed and your data will not be sent to any other server.
Screen Shot 2015-04-07 at 14.29.30
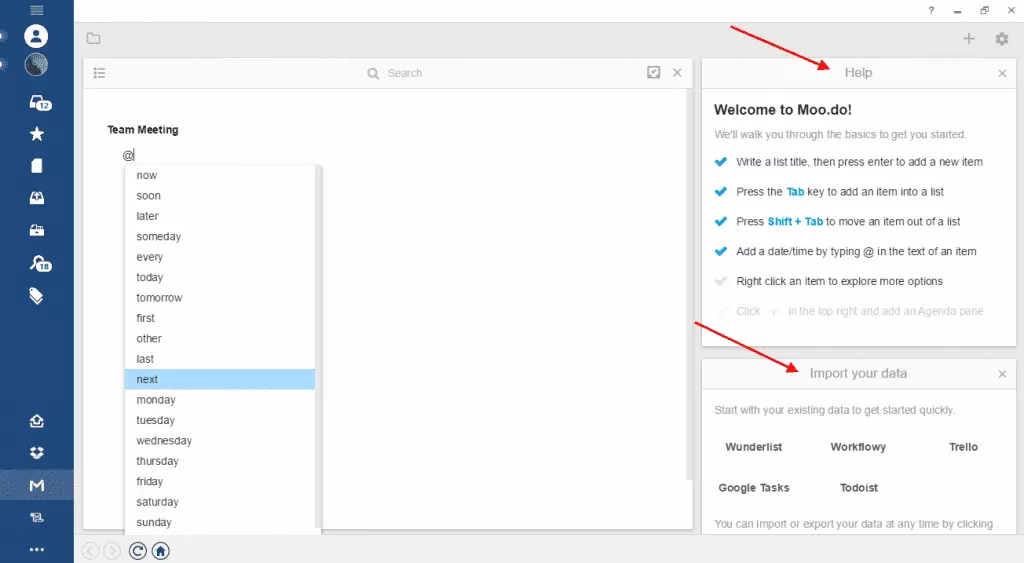
3. Once you have signed in, Moo.do will take you through the first steps to get started. You will also have the option to import data from your other To-Do list Apps and keep working on these within Moo.do.
Steps to getting started
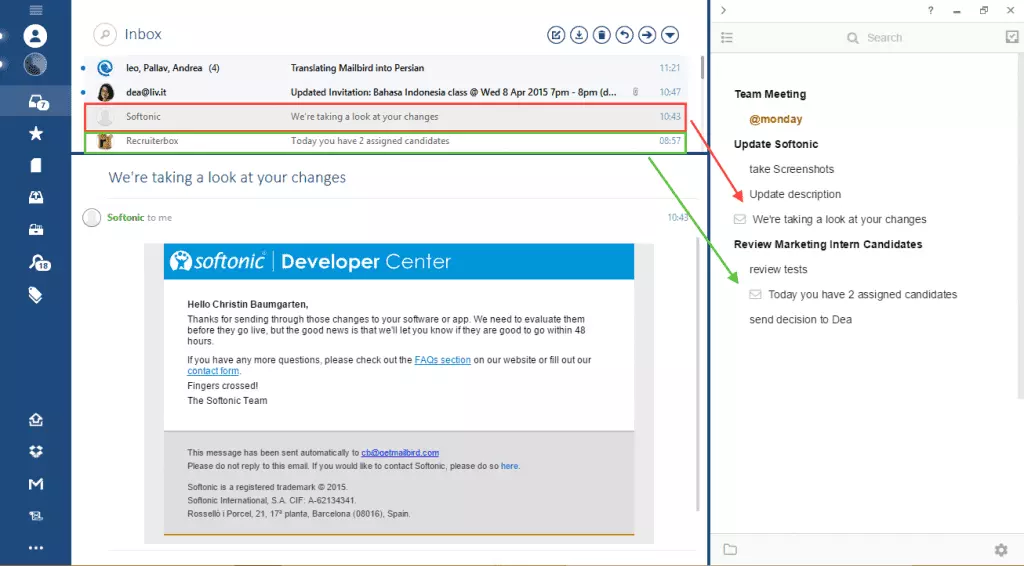
4. After setting up your To-Do lists and agendas, you can simply drag and drop Emails related to your set tasks into your Moo.do list. When clicking the Email in your Moo.do list it will open the Email in Mailbird. The Email dragged into your Moo.do list, will still remain in your Inbox; no Emails will disappear and you will still have access to them outside of Moo.do.
Drag and Drop emails
Activate Moo.do in Mailbird, so you can start getting organized today. Let us know what you think and how you use Moo.do in Mailbird in the comments below.